
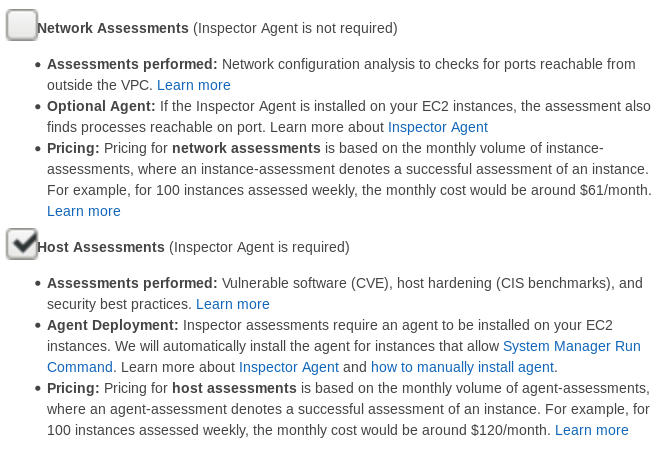
Inspector is a tool/service provided by AWS that allows for assessing the vulnerability and compliance posture of instances in your cloud and on-prem environment. One immediate benefit to using Inspector is that no ports need to be opened on the instance to allow for vulnerability and compliance scanning. This keeps the attack surface small while not losing any capabilities.
AWS charges per instance, per assessment (Currently $0.30 for under 250 agent-assessments).. For example, if I have 5 instances with weekly assessments, I will be charged for each assessment for each instance. This would total .30x5x4=$6.00 per month. The larger the environment, the cheaper the per assessment cost.
Overall, the pricing is fair and comparable to the competing third party assessment tools.
In this walk-through we will be using the Amazon Inspector Console found at https://console.aws.amazon.com/inspector

I will not be running Network Assessments in this post. Uncheck Network Assessments.
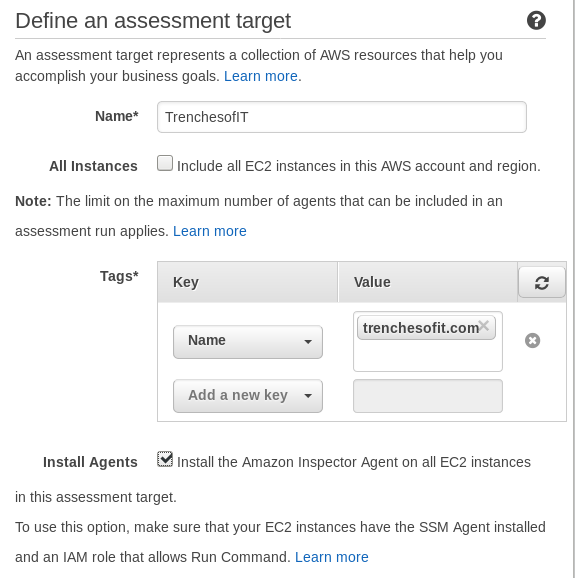
Advanced Setup. Enter Name, uncheck include all EC2 instances in AWS account and region. Select the Name key and the value will populate with your available instances. Leave the Install Agents box checked. Next
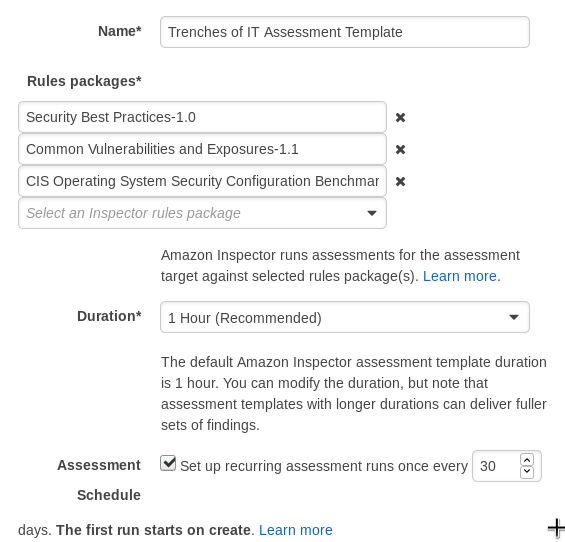
The following rule packages populate:
- Network Reachability
- Security Best Practices
- Common Vulnerabilities and Exposures
- CIS Operation System Security Configuration Benchmarks
For this assessment I will be removing Network Reachability. Increase the recurring assessments to run once every 30 days. Next.
Review the configuration. Click Create.
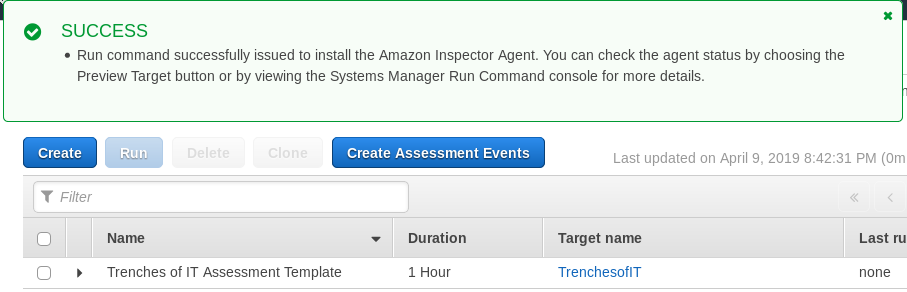
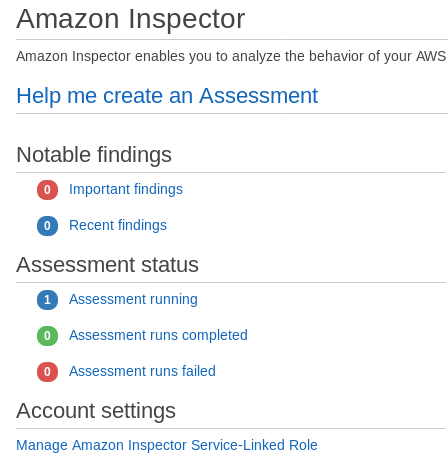
We can now check the newly created assessment and click Run. The progress is most friendly to view from the Amazon Inspector Dashboard.
Taking a look over in CloudWatch logs we can see the /var/log/messages showing Inspector starting on the endpoint.

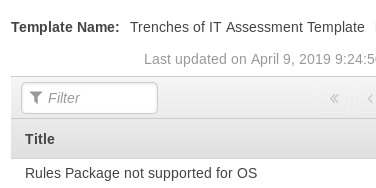
If you see the following message in AWS Inspector – Assessment runs “Rules Package not supported for OS” Check the following link for a table of supported assessment packages to OS: AWS Assessment Table
We can check the progress of the assessment by clicking AWS Inspector – Assessment runs -> Click the down arrow on the current assessment -> Show status.
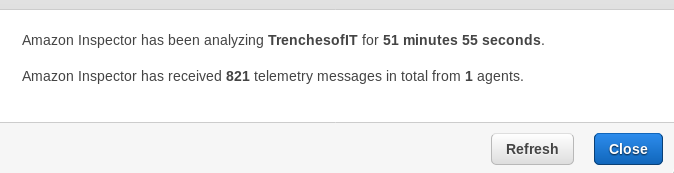
After 1 hour of collecting the data, the assessment will then begin the analysis.

Once complete, results can be found in the Amazon Inspector Dashboard.

Within the Amazon Inspector – Findings you will see Severity of the finding and the Rules Package that triggered it.

Each finding will then have details to the description of the finding, along with the recommendation from AWS to resolve the issue.
As you can see, Inspector is easy to automate and scalable for thousands of instances in your environment. Hope you enjoyed the
walk-through, and until next time, stay safe in the Trenches of IT!