Disclosure: Some links contained within this post are affiliate links, meaning, I will earn a commission if you click through and make a purchase.
I was recently approached by one of my family members in need of a technical solution. My family needed the ability to monitor and record key assets of their property with the cheapest solution possible. The project design, configuration, and installment was handed to me. I have installed a similar system at home, but the need was minimal so I designed the system for maximum customization and cost savings.
The Hardware
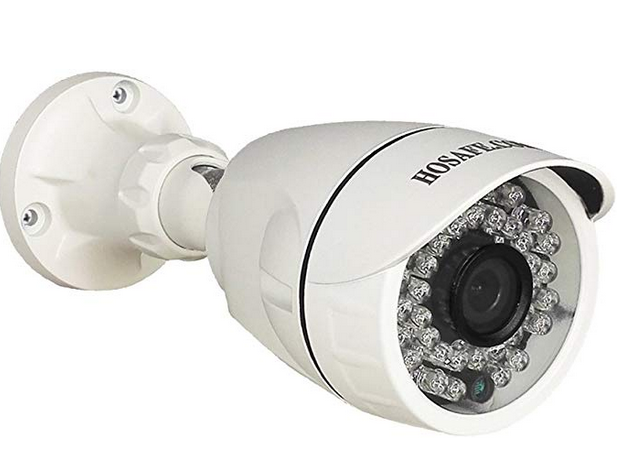
I am a huge fan of POE cameras because of the installation simplicity, so I decided to go with high video quality HoSafe POE cameras for only $40. The trick with these cameras is that they can NOT be allowed to connect to the internet. They are basically bots waiting for commands from a C&C server. After checking out the property, we only needed two for this situation. This is the majority of the cost.
The user of the system is over 70 years old so simplicity for the user is a must. For this I ordered a small used 10 inch monitor to display the camera montage at all times.

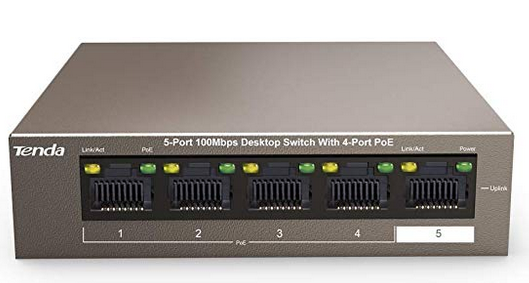
To power the POE cameras I needed a small switch with few ports. I went with the Tenda 5-port switch. This would allow a maximum expansion to a 4 camera system.
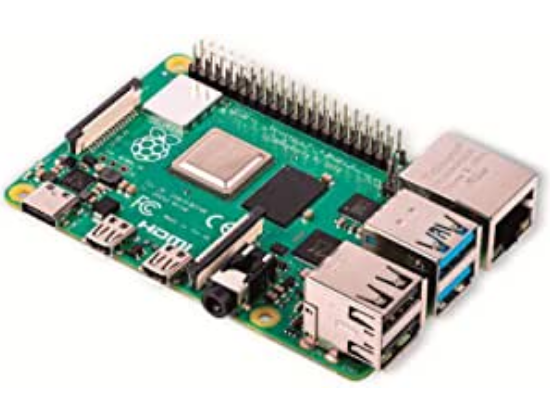
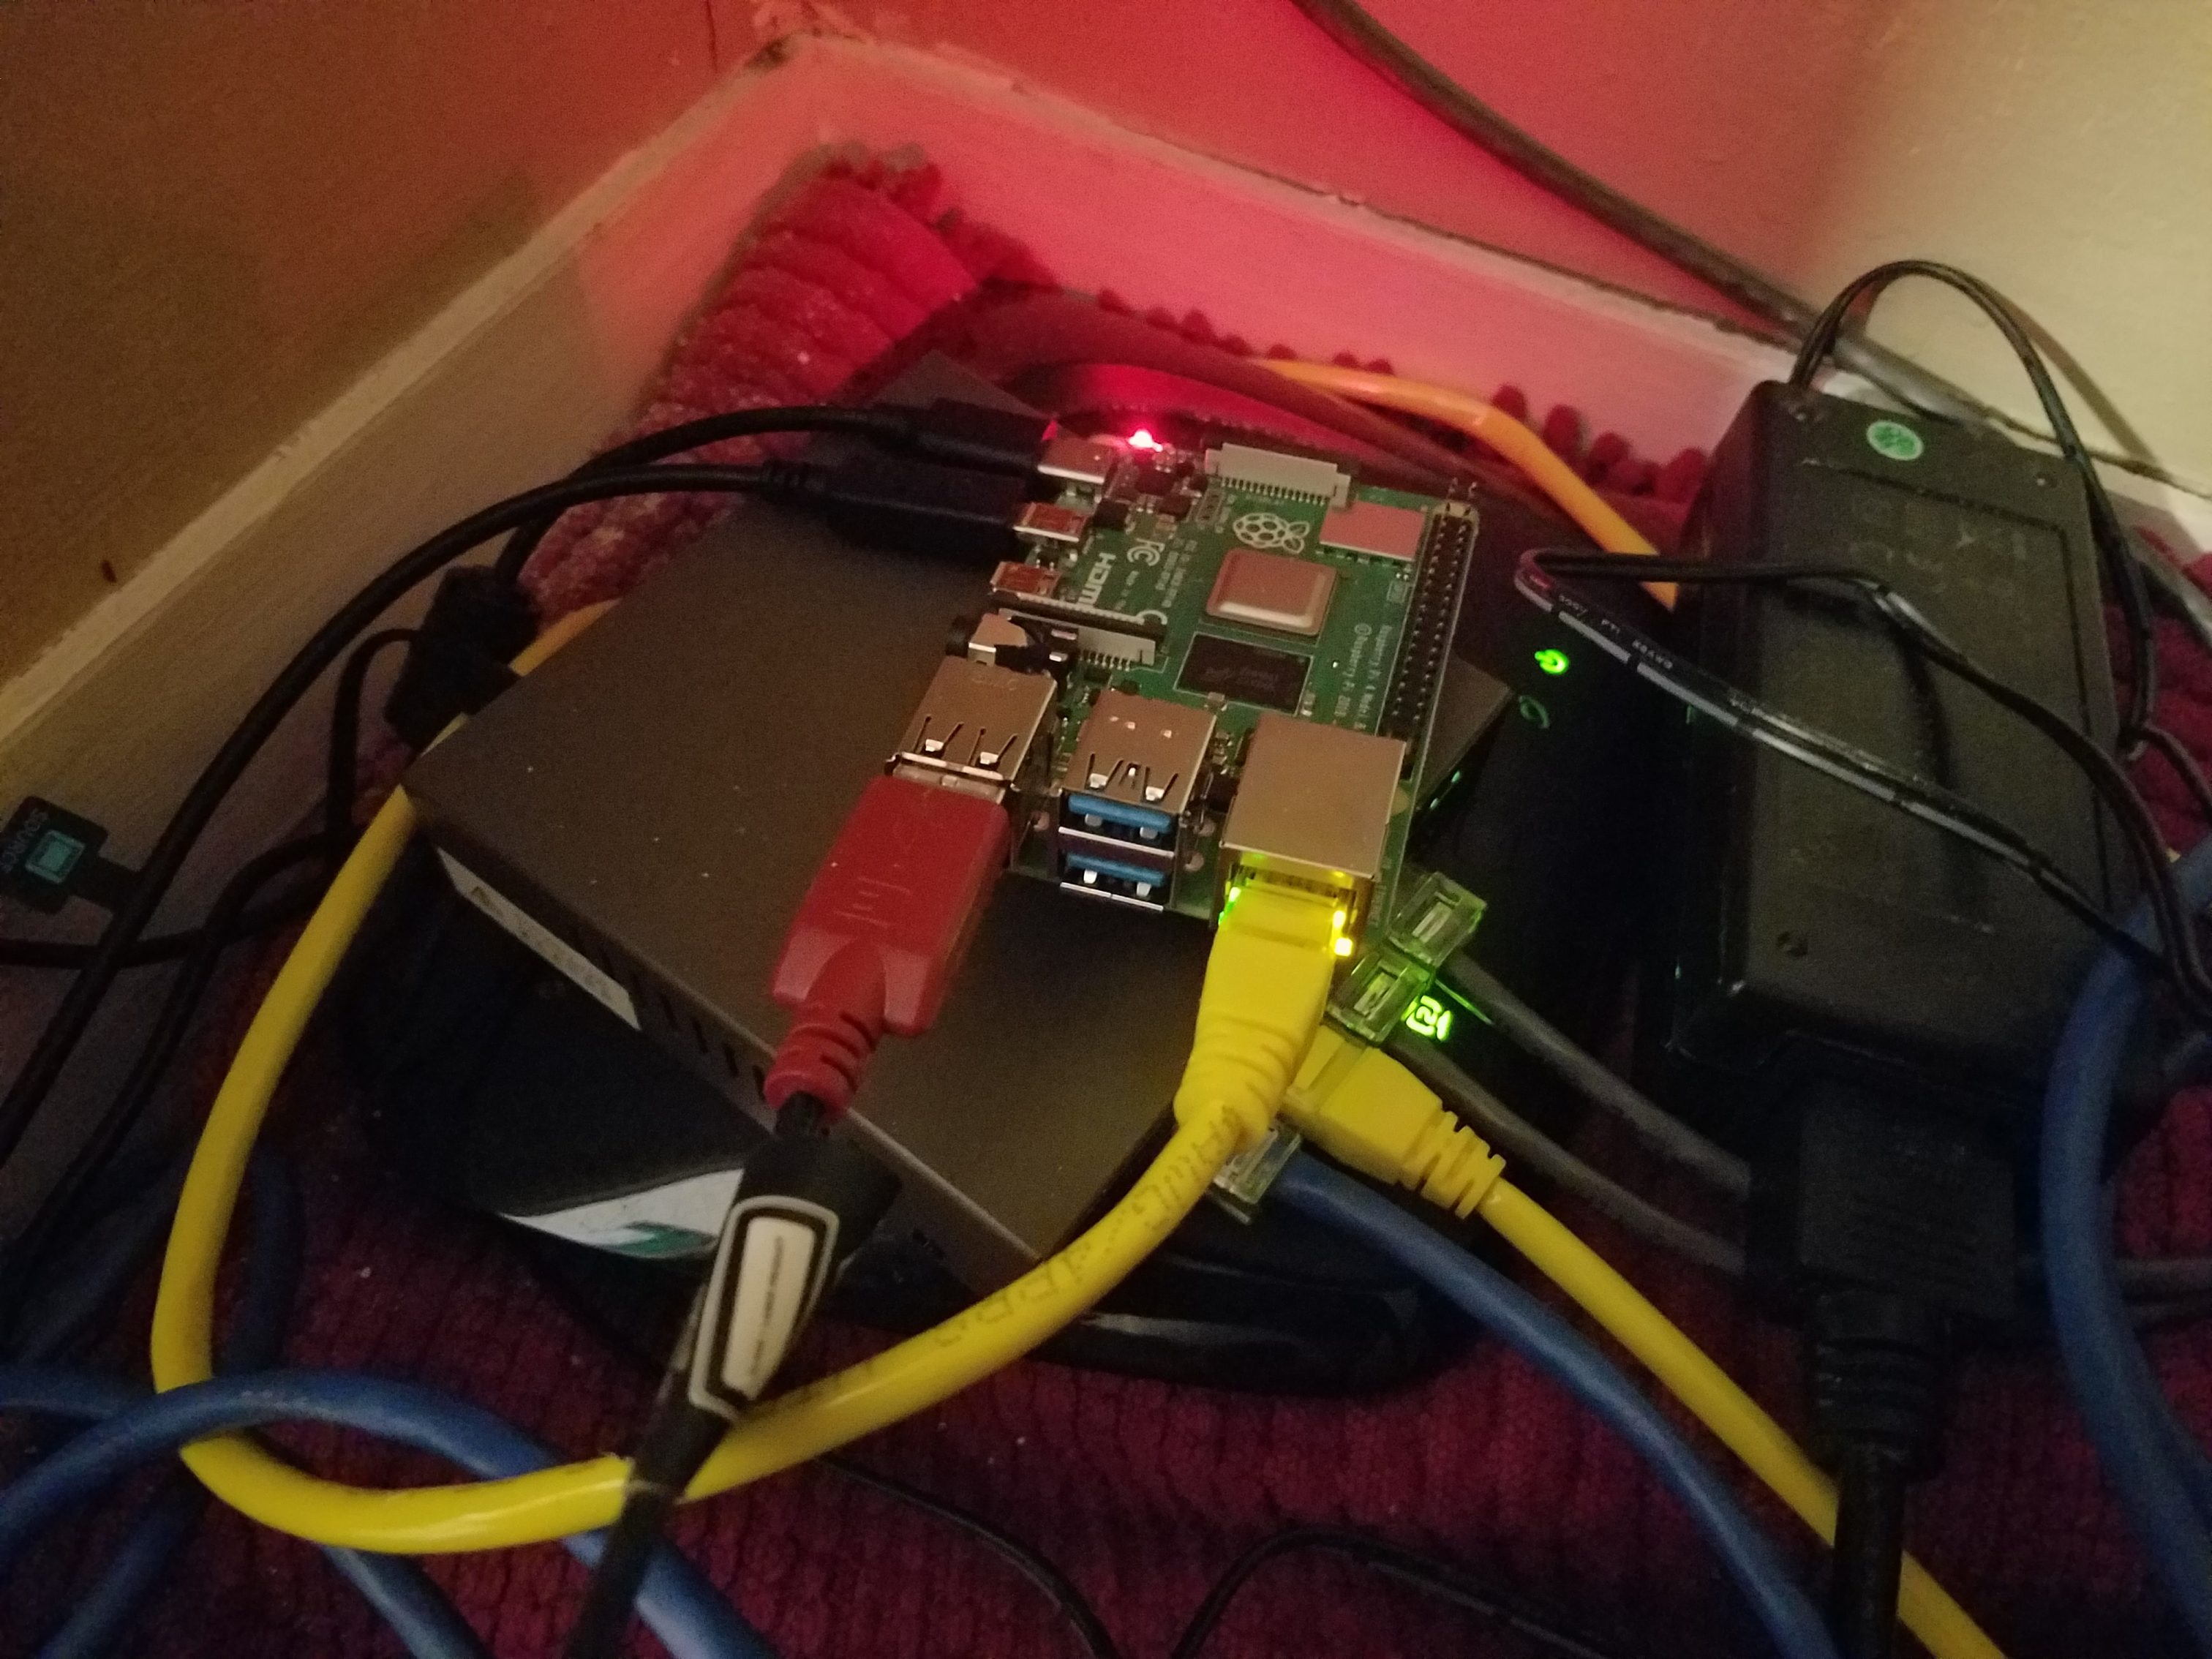
For the compute, I went with a Raspberry Pi 4 Model B 2GB RAM. The Raspberry will allow for maximum customization if I encounter other needs in the future. The other advantage is the device is compact.
I ordered a 64GB SanDisk microSD card to store the OS and the recorded video content.

Last, I ordered a 10 foot mini-HDMI to HDMI display cable to run from the Raspberry Pi to the monitor.

The Software
Ahh, now for the free stuff, the software. For this I will be using Raspbian for the base OS. Why? Because the user will need to have a GUI for navigating the camera system with ease, and the Raspbian OS should be more stable on the Raspberry Pi hardware.

For the camera system software, I originally tried using Zoneminder. After configuring the Zoneminder server, I could not get the camera stream to work so I switched to using Shinobi. Before this build I had never heard of Shinobi, but after some research and testing I was quite impressed by the simplicity and depth offered to the user. The software is also completely open source with a paid service available with Shinobi Pro. We will be using the community edition in this build.

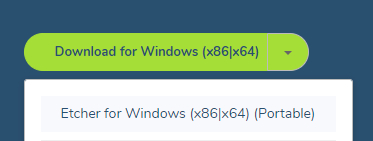
I will need software to write the Raspbian ISO to the SD card. I have recently been using Etcher to do this job and I like the simplicity.
Last, I will be configuring OpenVPN for remote system administration.
The Configuration
First, I will be downloading the latest Raspbian Buster with desktop.
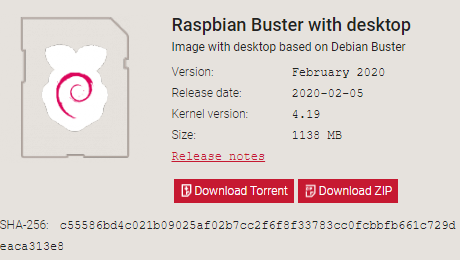
As always, check the hash for integrity.

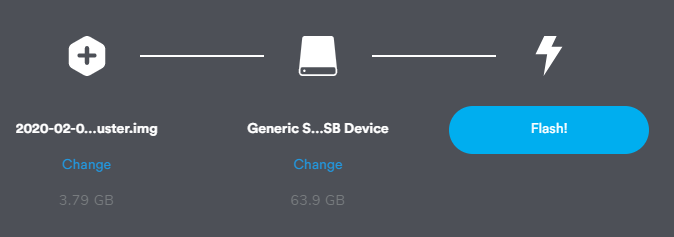
Next lets download Etcher to write the image to the SD card. I go with the portable so no install is required to use the software.
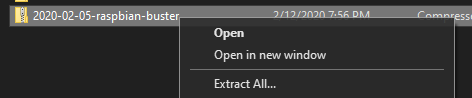
Extract the Raspbian Buster download.
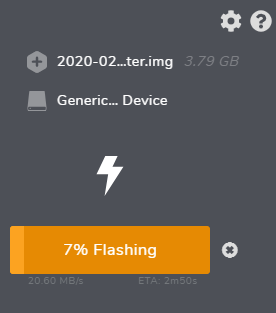
Open Etcher and select the image, insert the micro SD card into your machine, select target, and flash.
The write took about 5mins.
Okay, lets insert the SD Card into the Pi and see what we get.
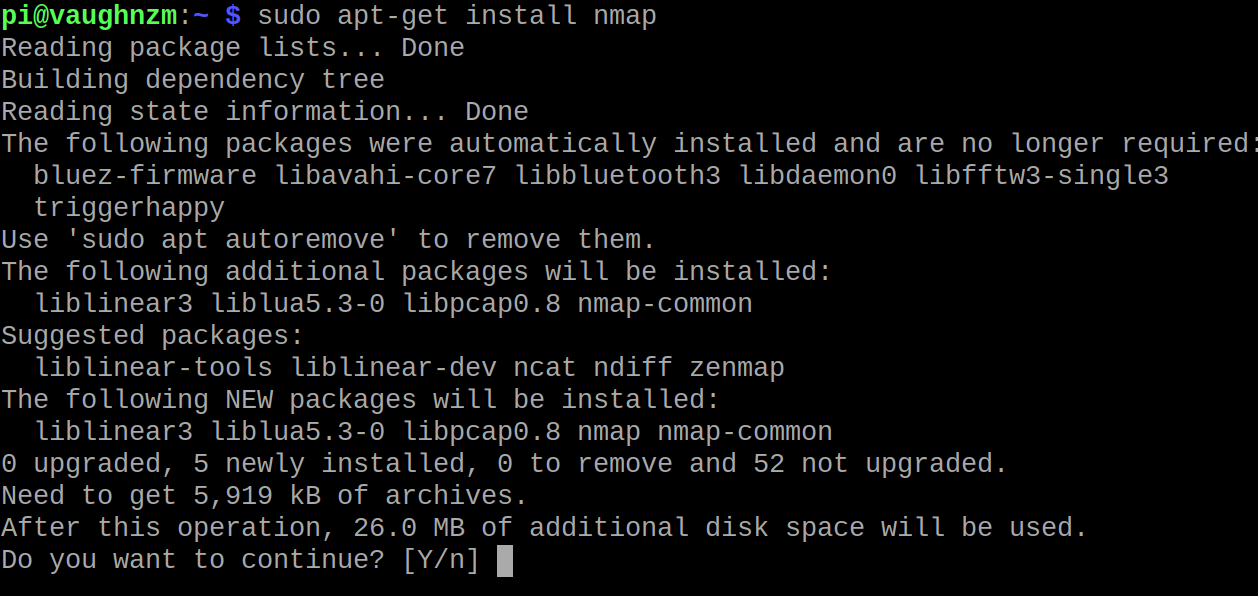
First, I update the installed pakages, and then install a DHCP server. The cameras will need to be issued IP addresses within the same subnet as the camera system.
DHCP installation
The DHCP server is needed for issuing IP’s to the cameras. This control also allows you to keep the scope small so if the cameras lose power and grab new IP’s they can easily be discovered.
sudo apt-get update && sudo apt-get upgrade
sudo apt-get install isc-dhcp-server
Next, I configure a static IP for the raspberry pi
sudo vi /etc/network/interfaces

#Add the following lines to the interfaces file
iface eth0 inet static
address 10.0.0.10
netmask 255.255.255.0
gateway 10.0.0.1
DHCP configuration

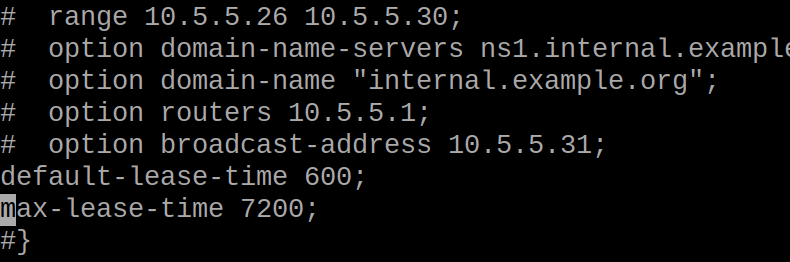
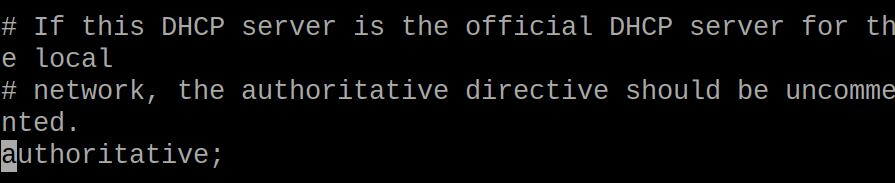
sudo vi /etc/dhcp/dhcpd.conf
#Ensure the following lines are not commented and customized to your #environment
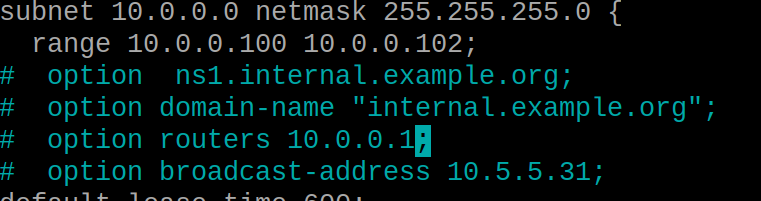
subnet 10.0.0.0 netmask 255.255.255.0 {
range 10.0.0.100 10.0.0.105
}Ensure the default and max lease time is not commented.
Next I configure the DHCP to be the authoritative DHCP server for the local network.
Here, I set the range from 10.0.0.100 to 10.0.0.102 since I will only be issuing IPs to two cameras.
The Raspberry Pi has two interfaces and we do not want DHCP on the wlan0. Specify eth0 after the INTERFACESv4.

sudo service isc-dhcp-server restartOpenVPN Installation (Optional)
Start the install wizard using pivpn.io
sudo curl -L https://install.pivpn.io | bash
For any additional configuration details visit pivpn.io
Hardware Installation
After climbing up and looking in the attic, I quickly remembered why I went into information security………to not have to do this for a living. I started running the RJ-45 cable from inside the “server closet” with a small hole in the ceiling. The front porch camera was at the far end of the attic.
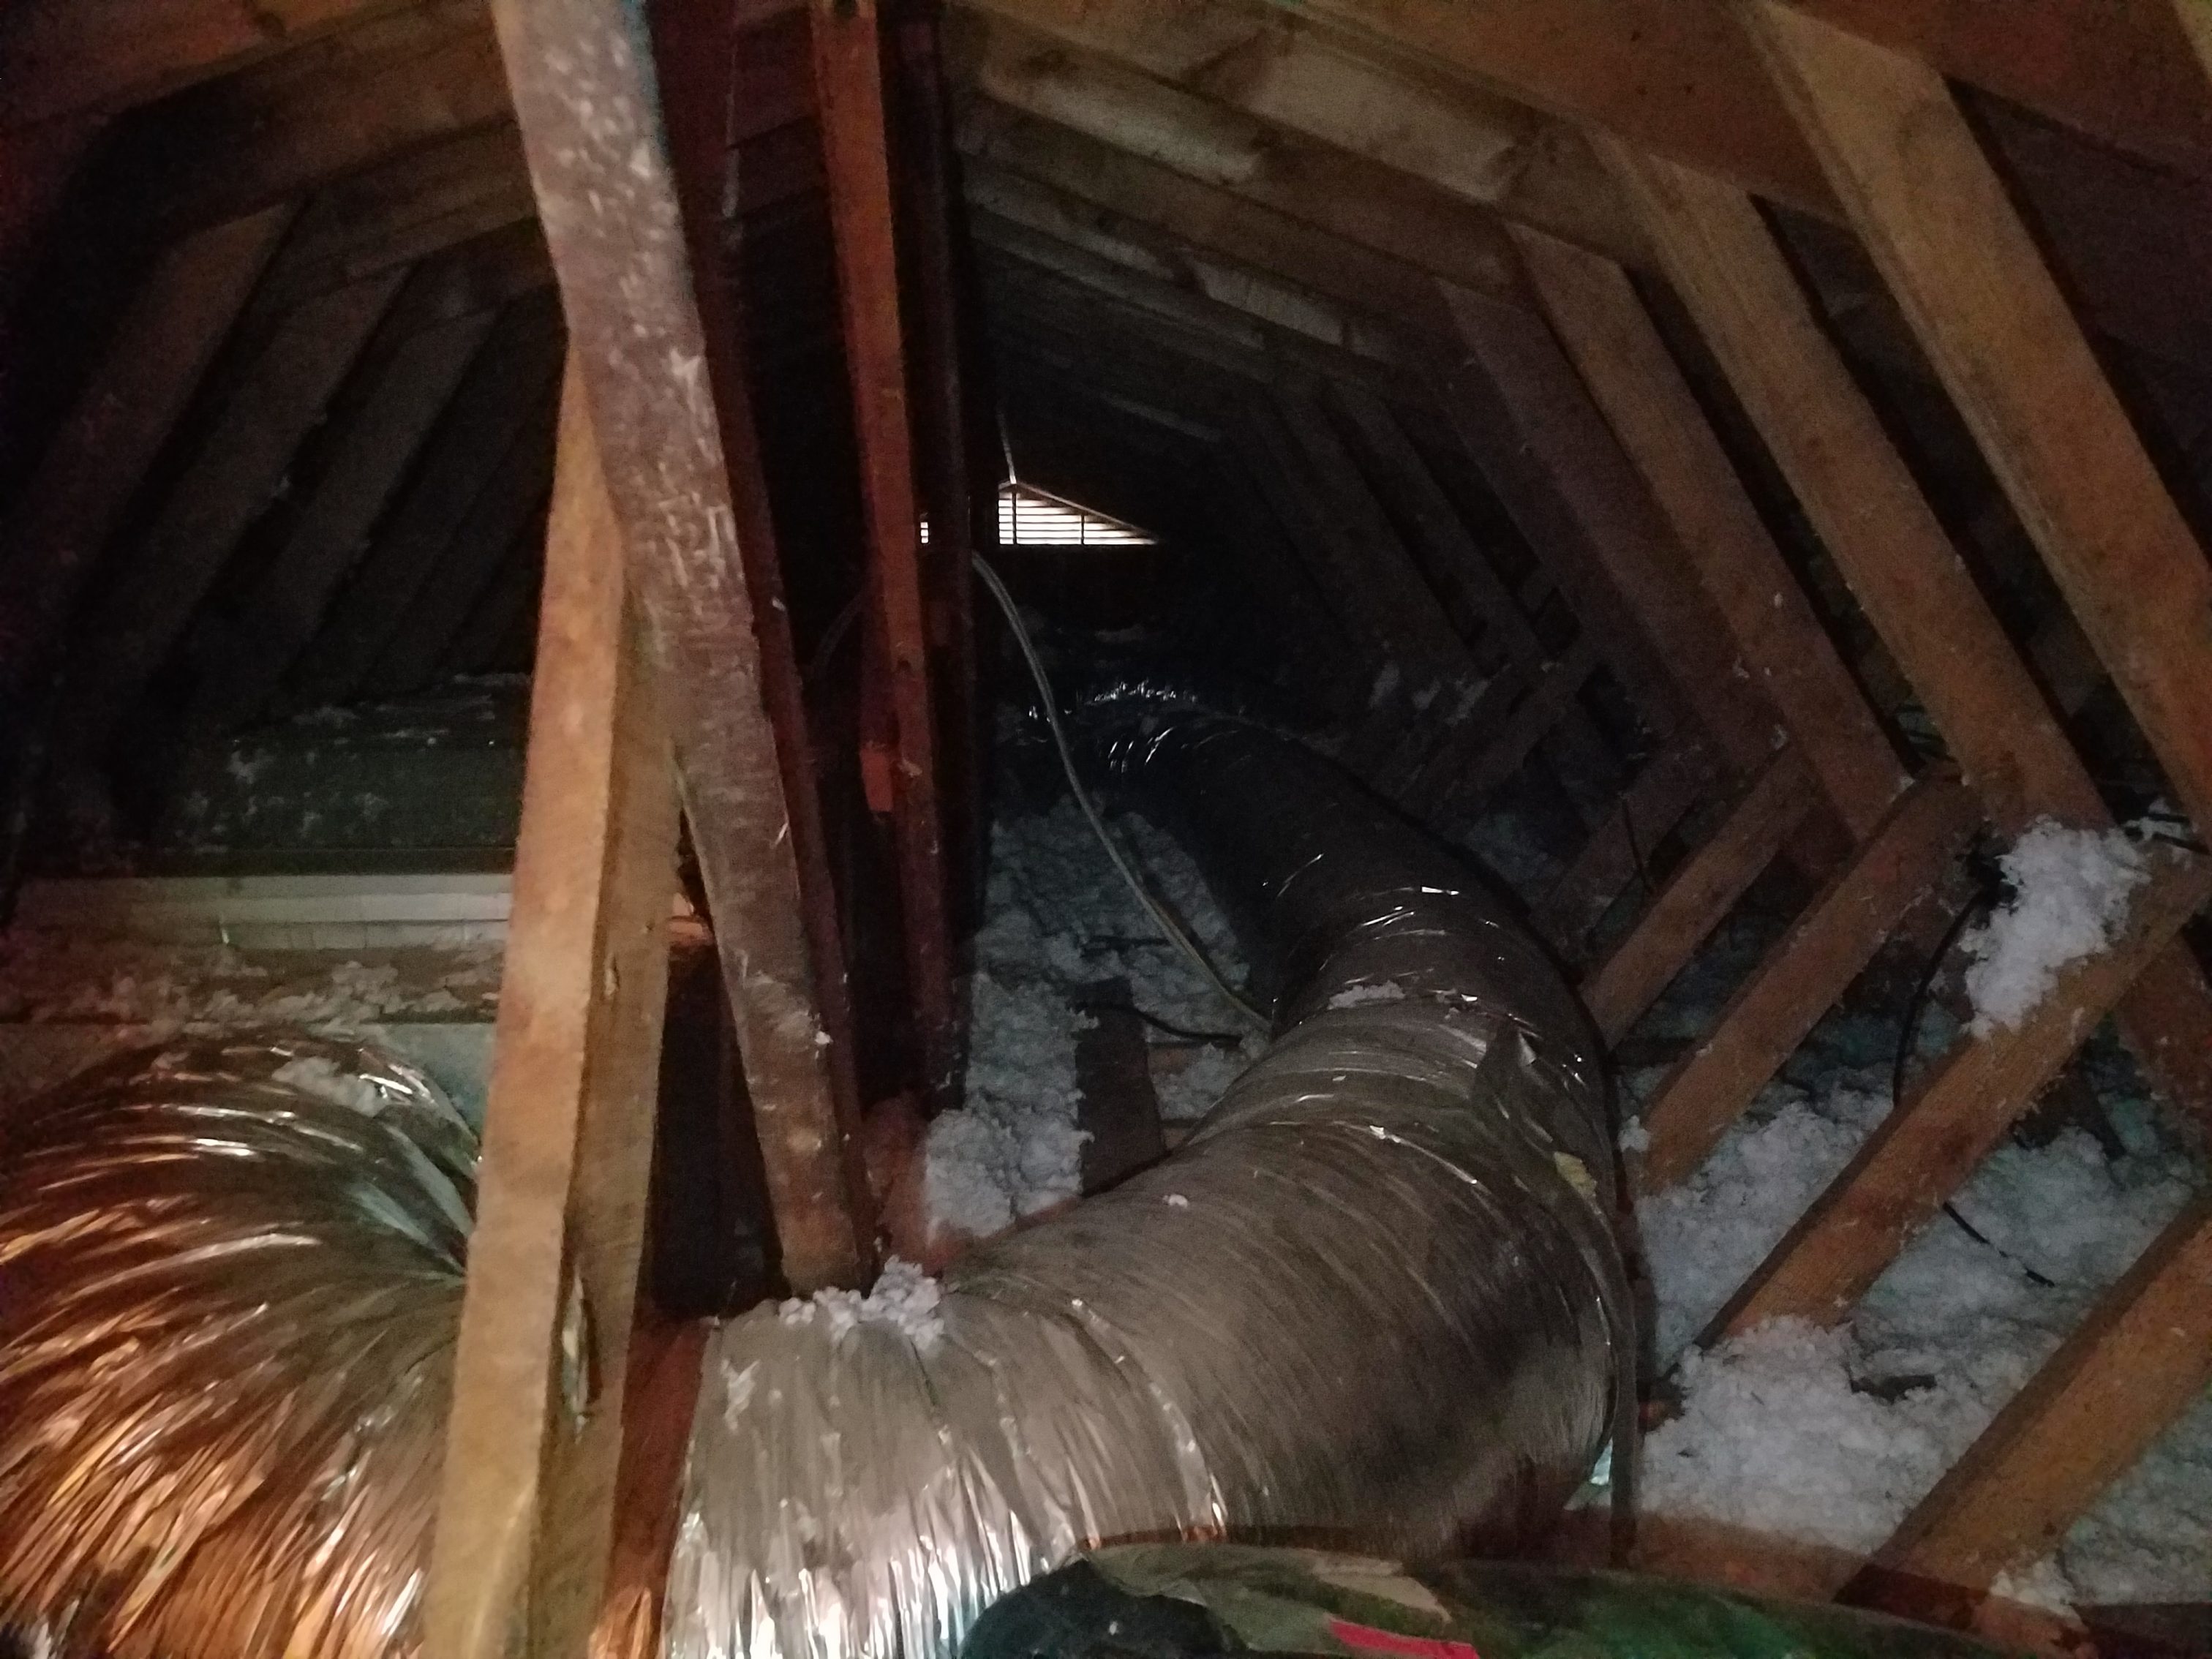
I found some pre-existing coax cable that was ran, so to keep the installation simple, I followed that. This will make the cable easy to find if maintenance is needed.
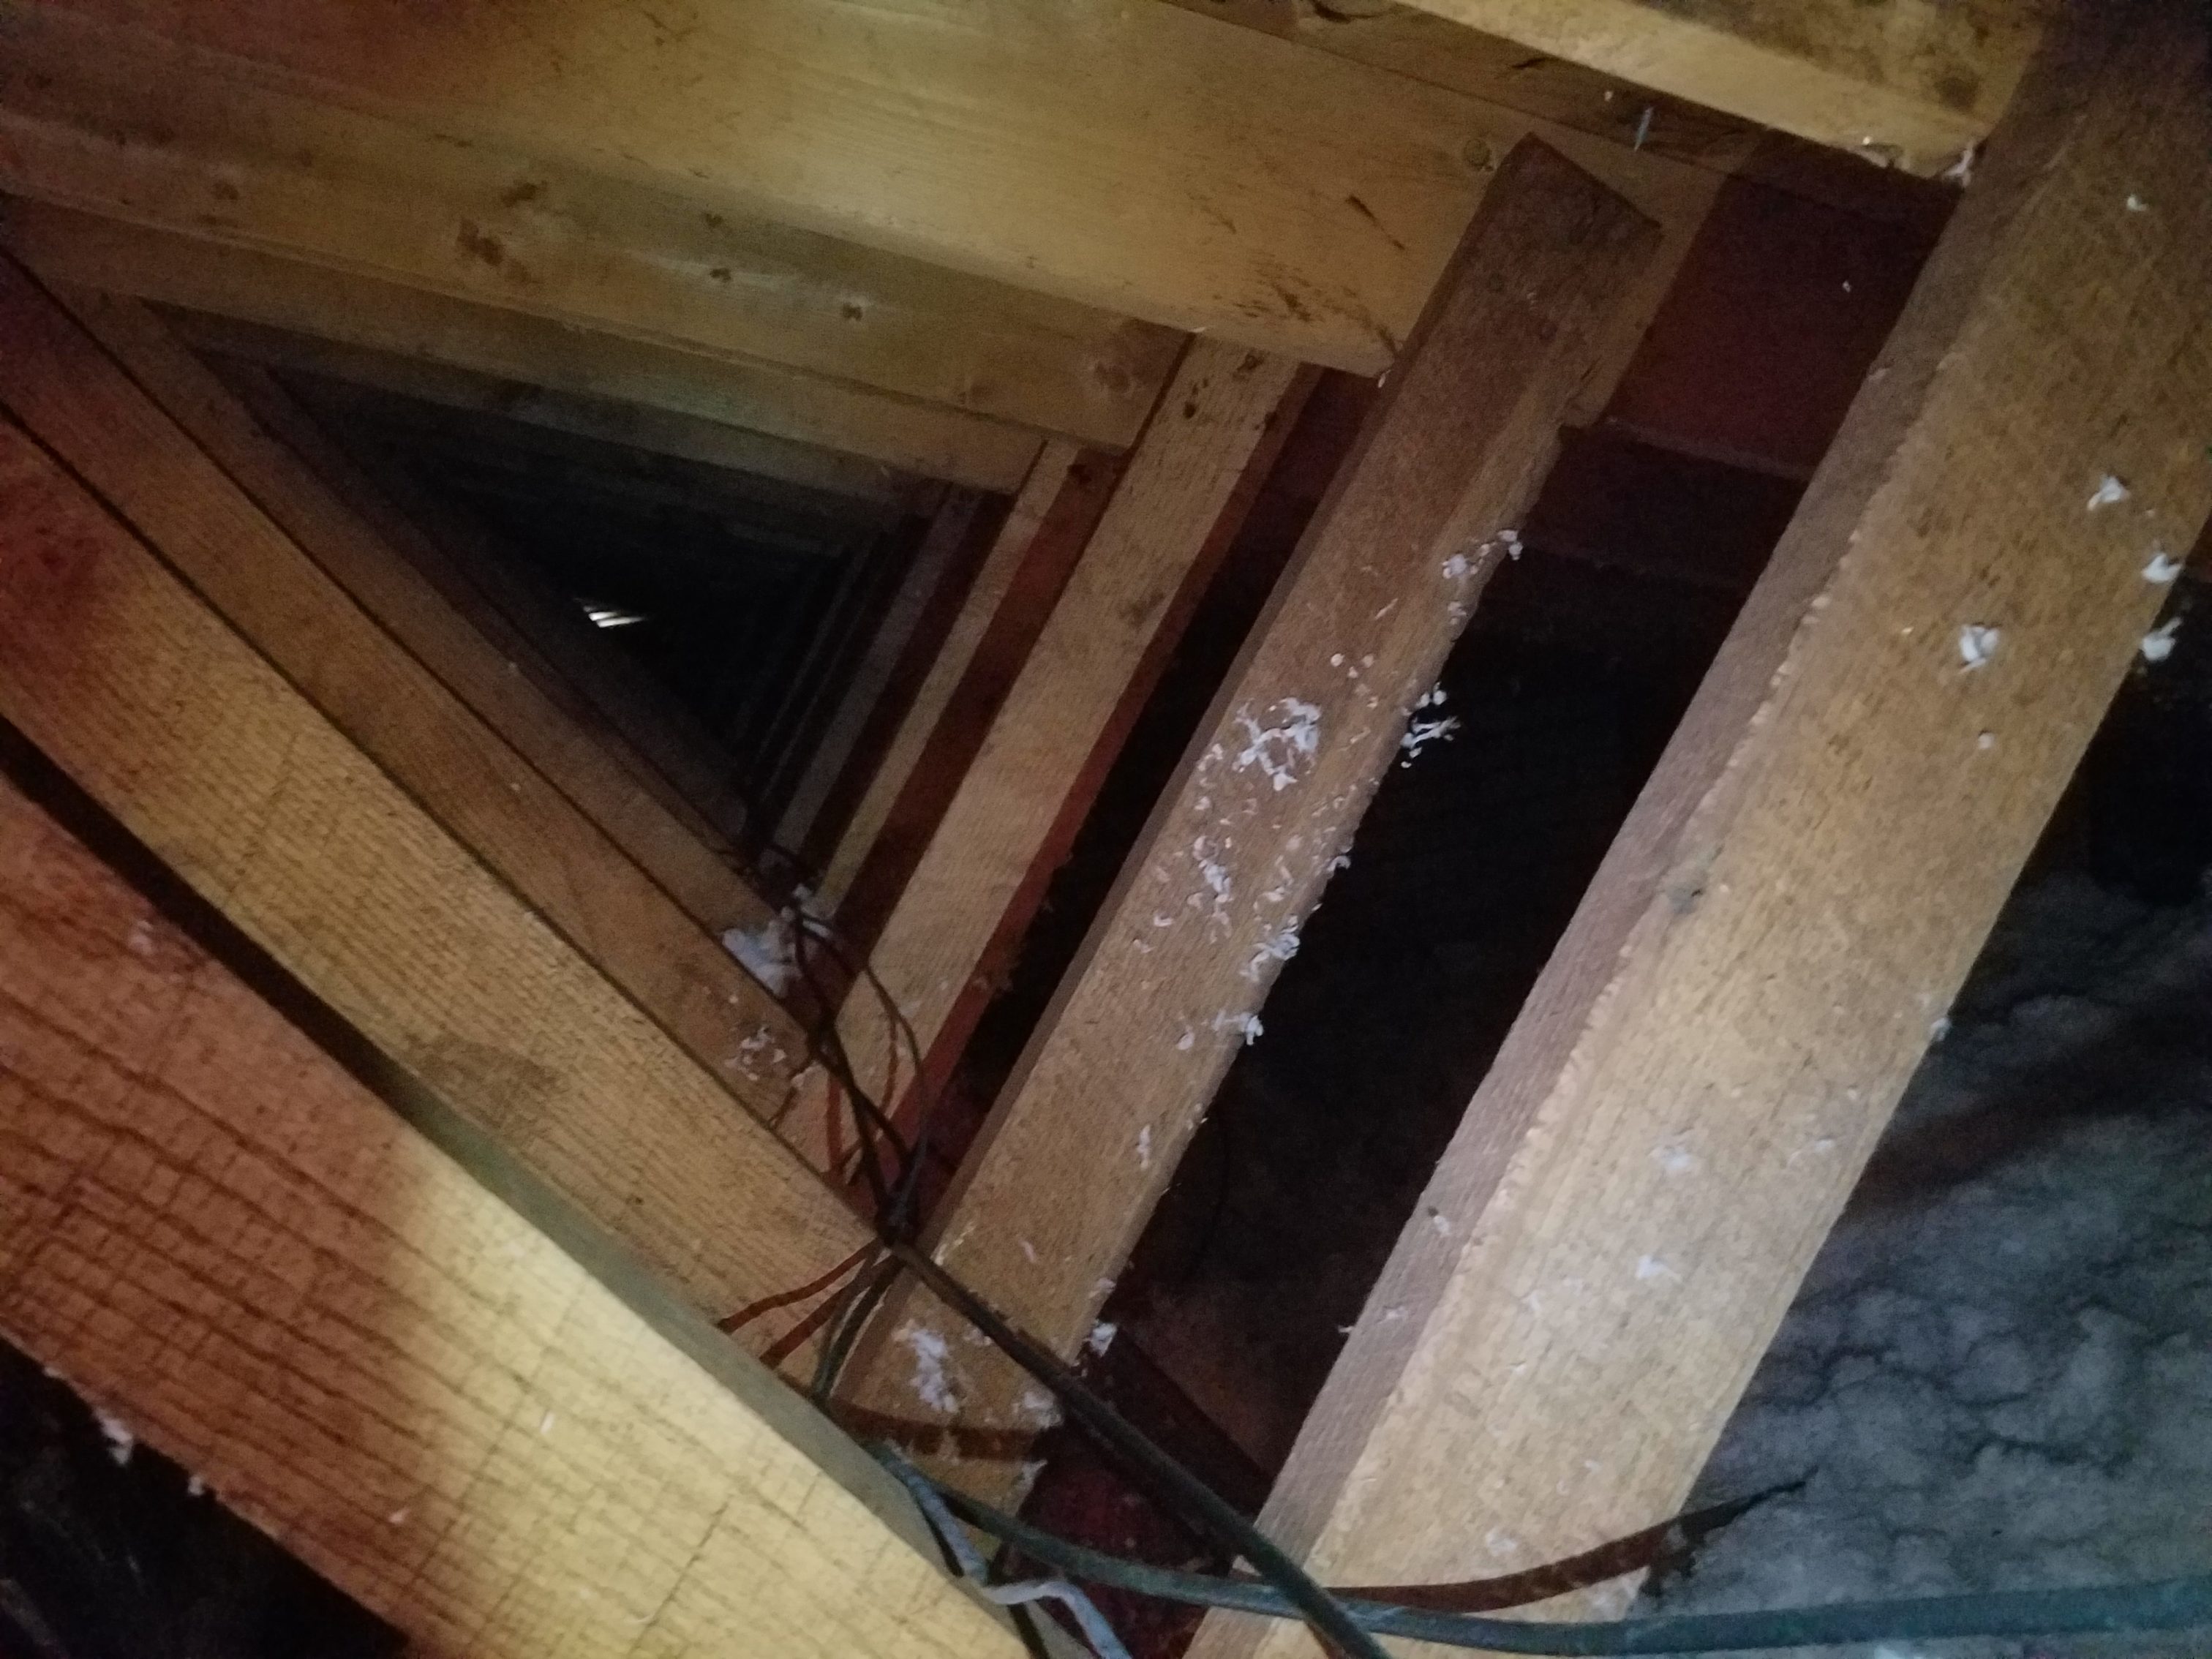
The camera on the side of the house facing the buildings was much more accessible from the attic.
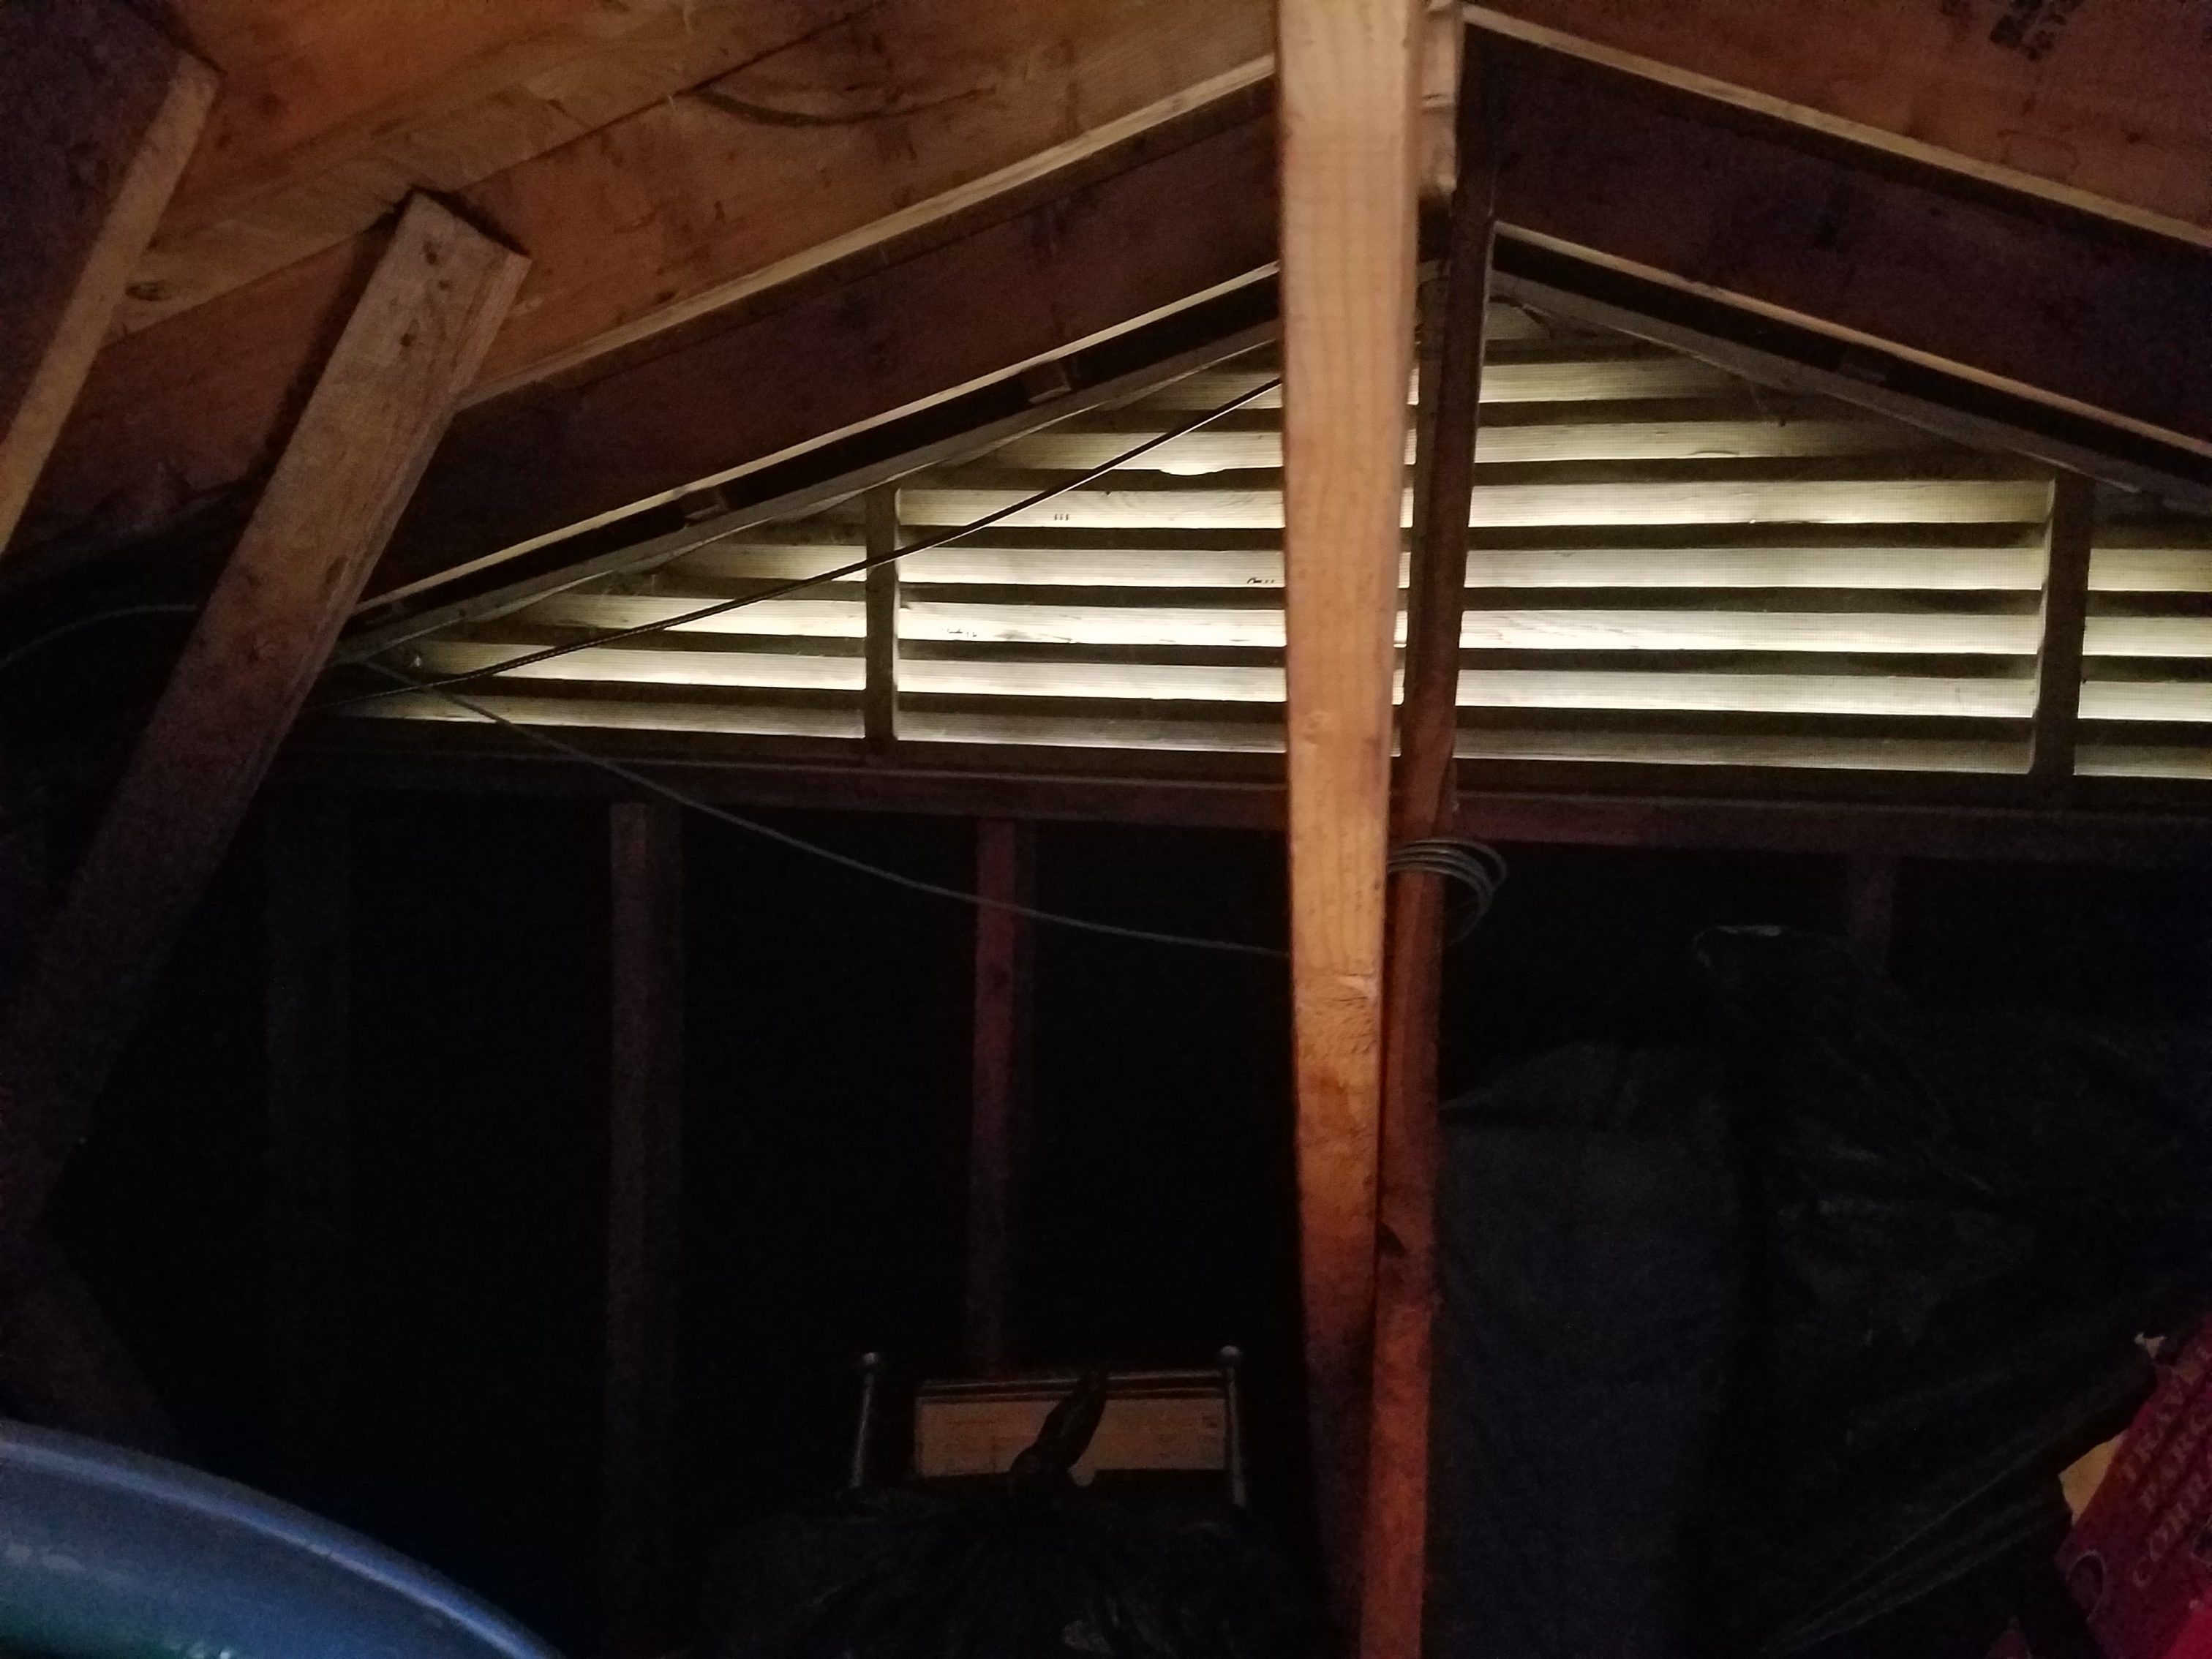
After running all the cable, I just terminated the ends and tested the connection.
Inside the closet I started up the Raspberry Pi and the POE switch.
Camera Software Installation
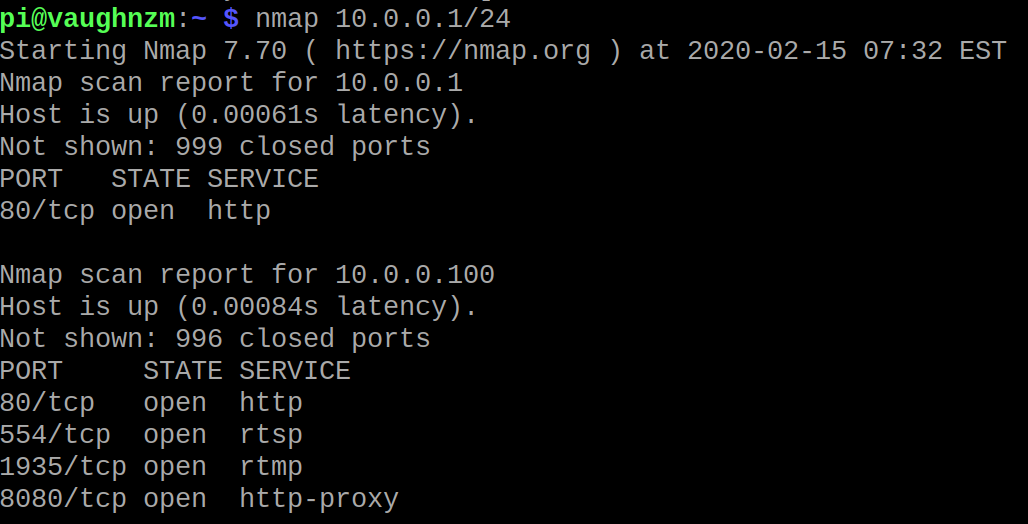
Lets start with some nmap so we can discover the IP’s leased by the cameras.
Partial results:
Download and run the installer
sudo su
bash <(curl -s https://gitlab.com/Shinobi-Systems/Shinobi-Installer/raw/master/shinobi-install.sh)
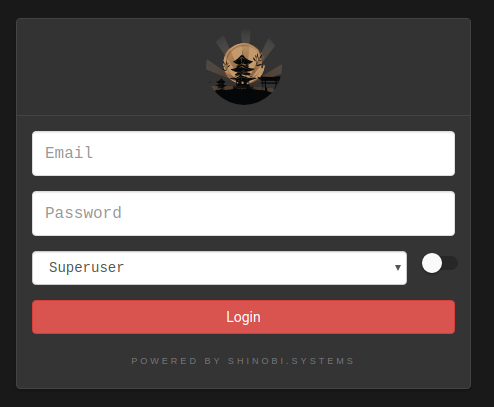
Now we can visit the web app at http://10.0.0.2
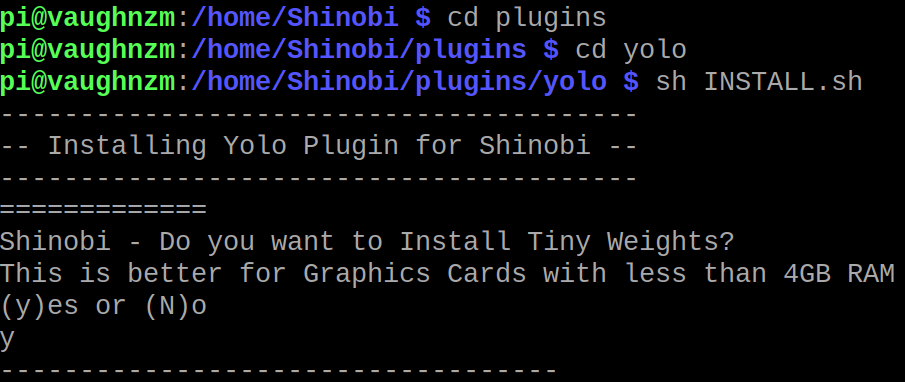
In addition, we will need to grab the plugin for motion detection. Install the plugin by running INSTALL.sh in the /home/Shinobi/plugins/yolo directory.
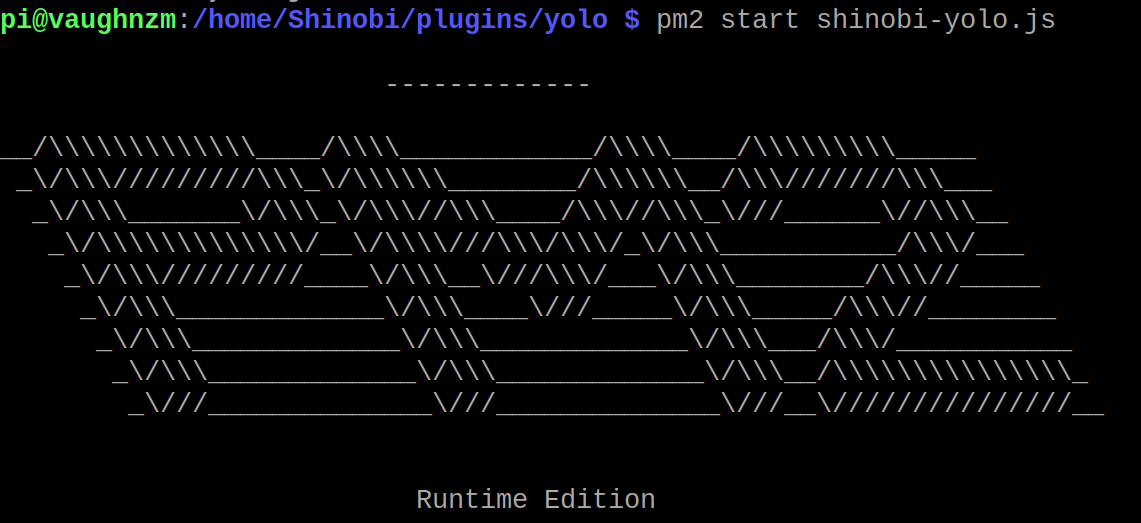
Start the plugin with “pm2 start shinobi-yolo.js”
Camera System Configuration
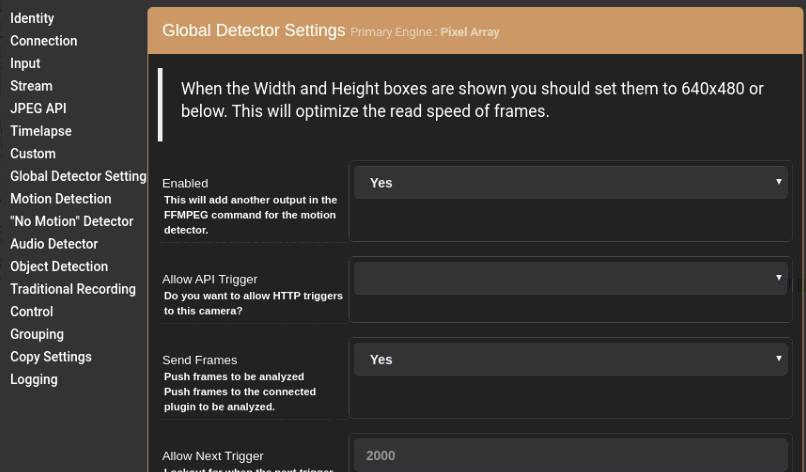
Now we should see the Global Detector Settings in Shinobi. Change the option to Enabled “Yes”.
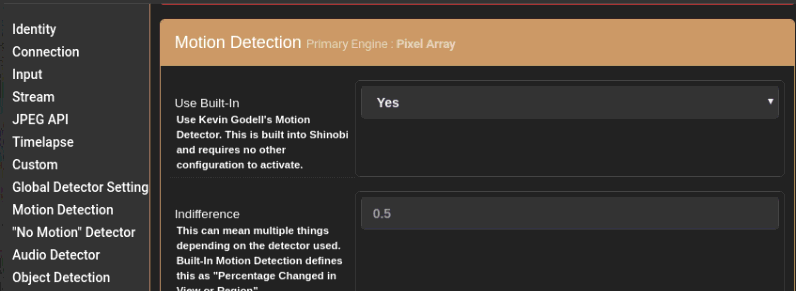
Motion Detection Use Built-In “Yes”.
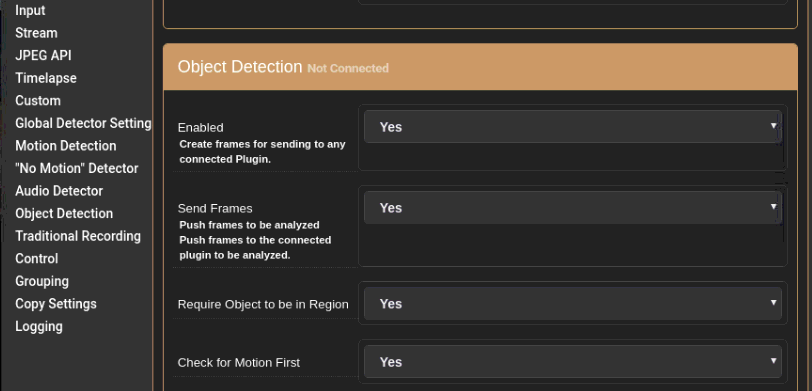
Object Detection Enabled “Yes”.
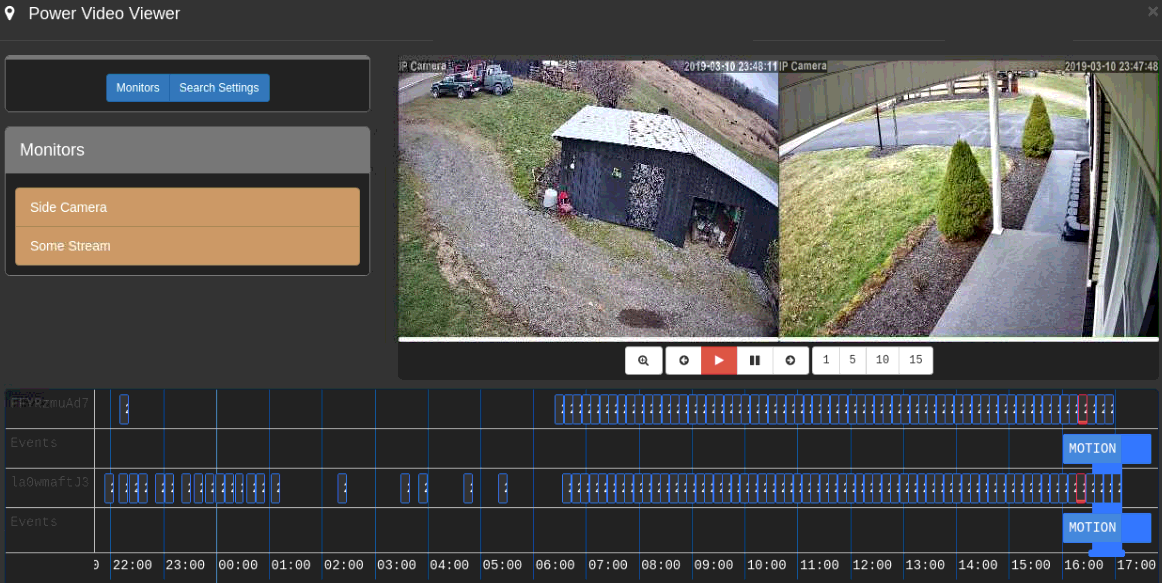
After enabling motion detection, I let the cameras run for a few hours. Mainly I was just wanting to see some recorded events and stability of the system.
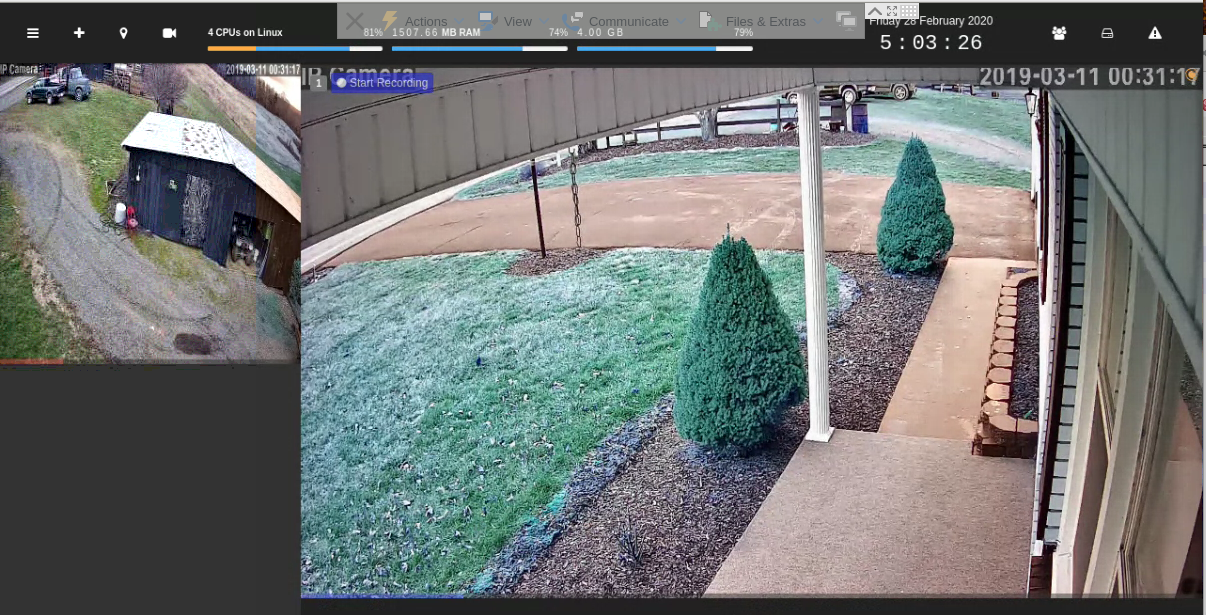
The system seemed to be using 70% of resources, but didn’t have any issues. Navigating over to the playback shows multiple recorded events. Looks like everything is working.
Conclusion
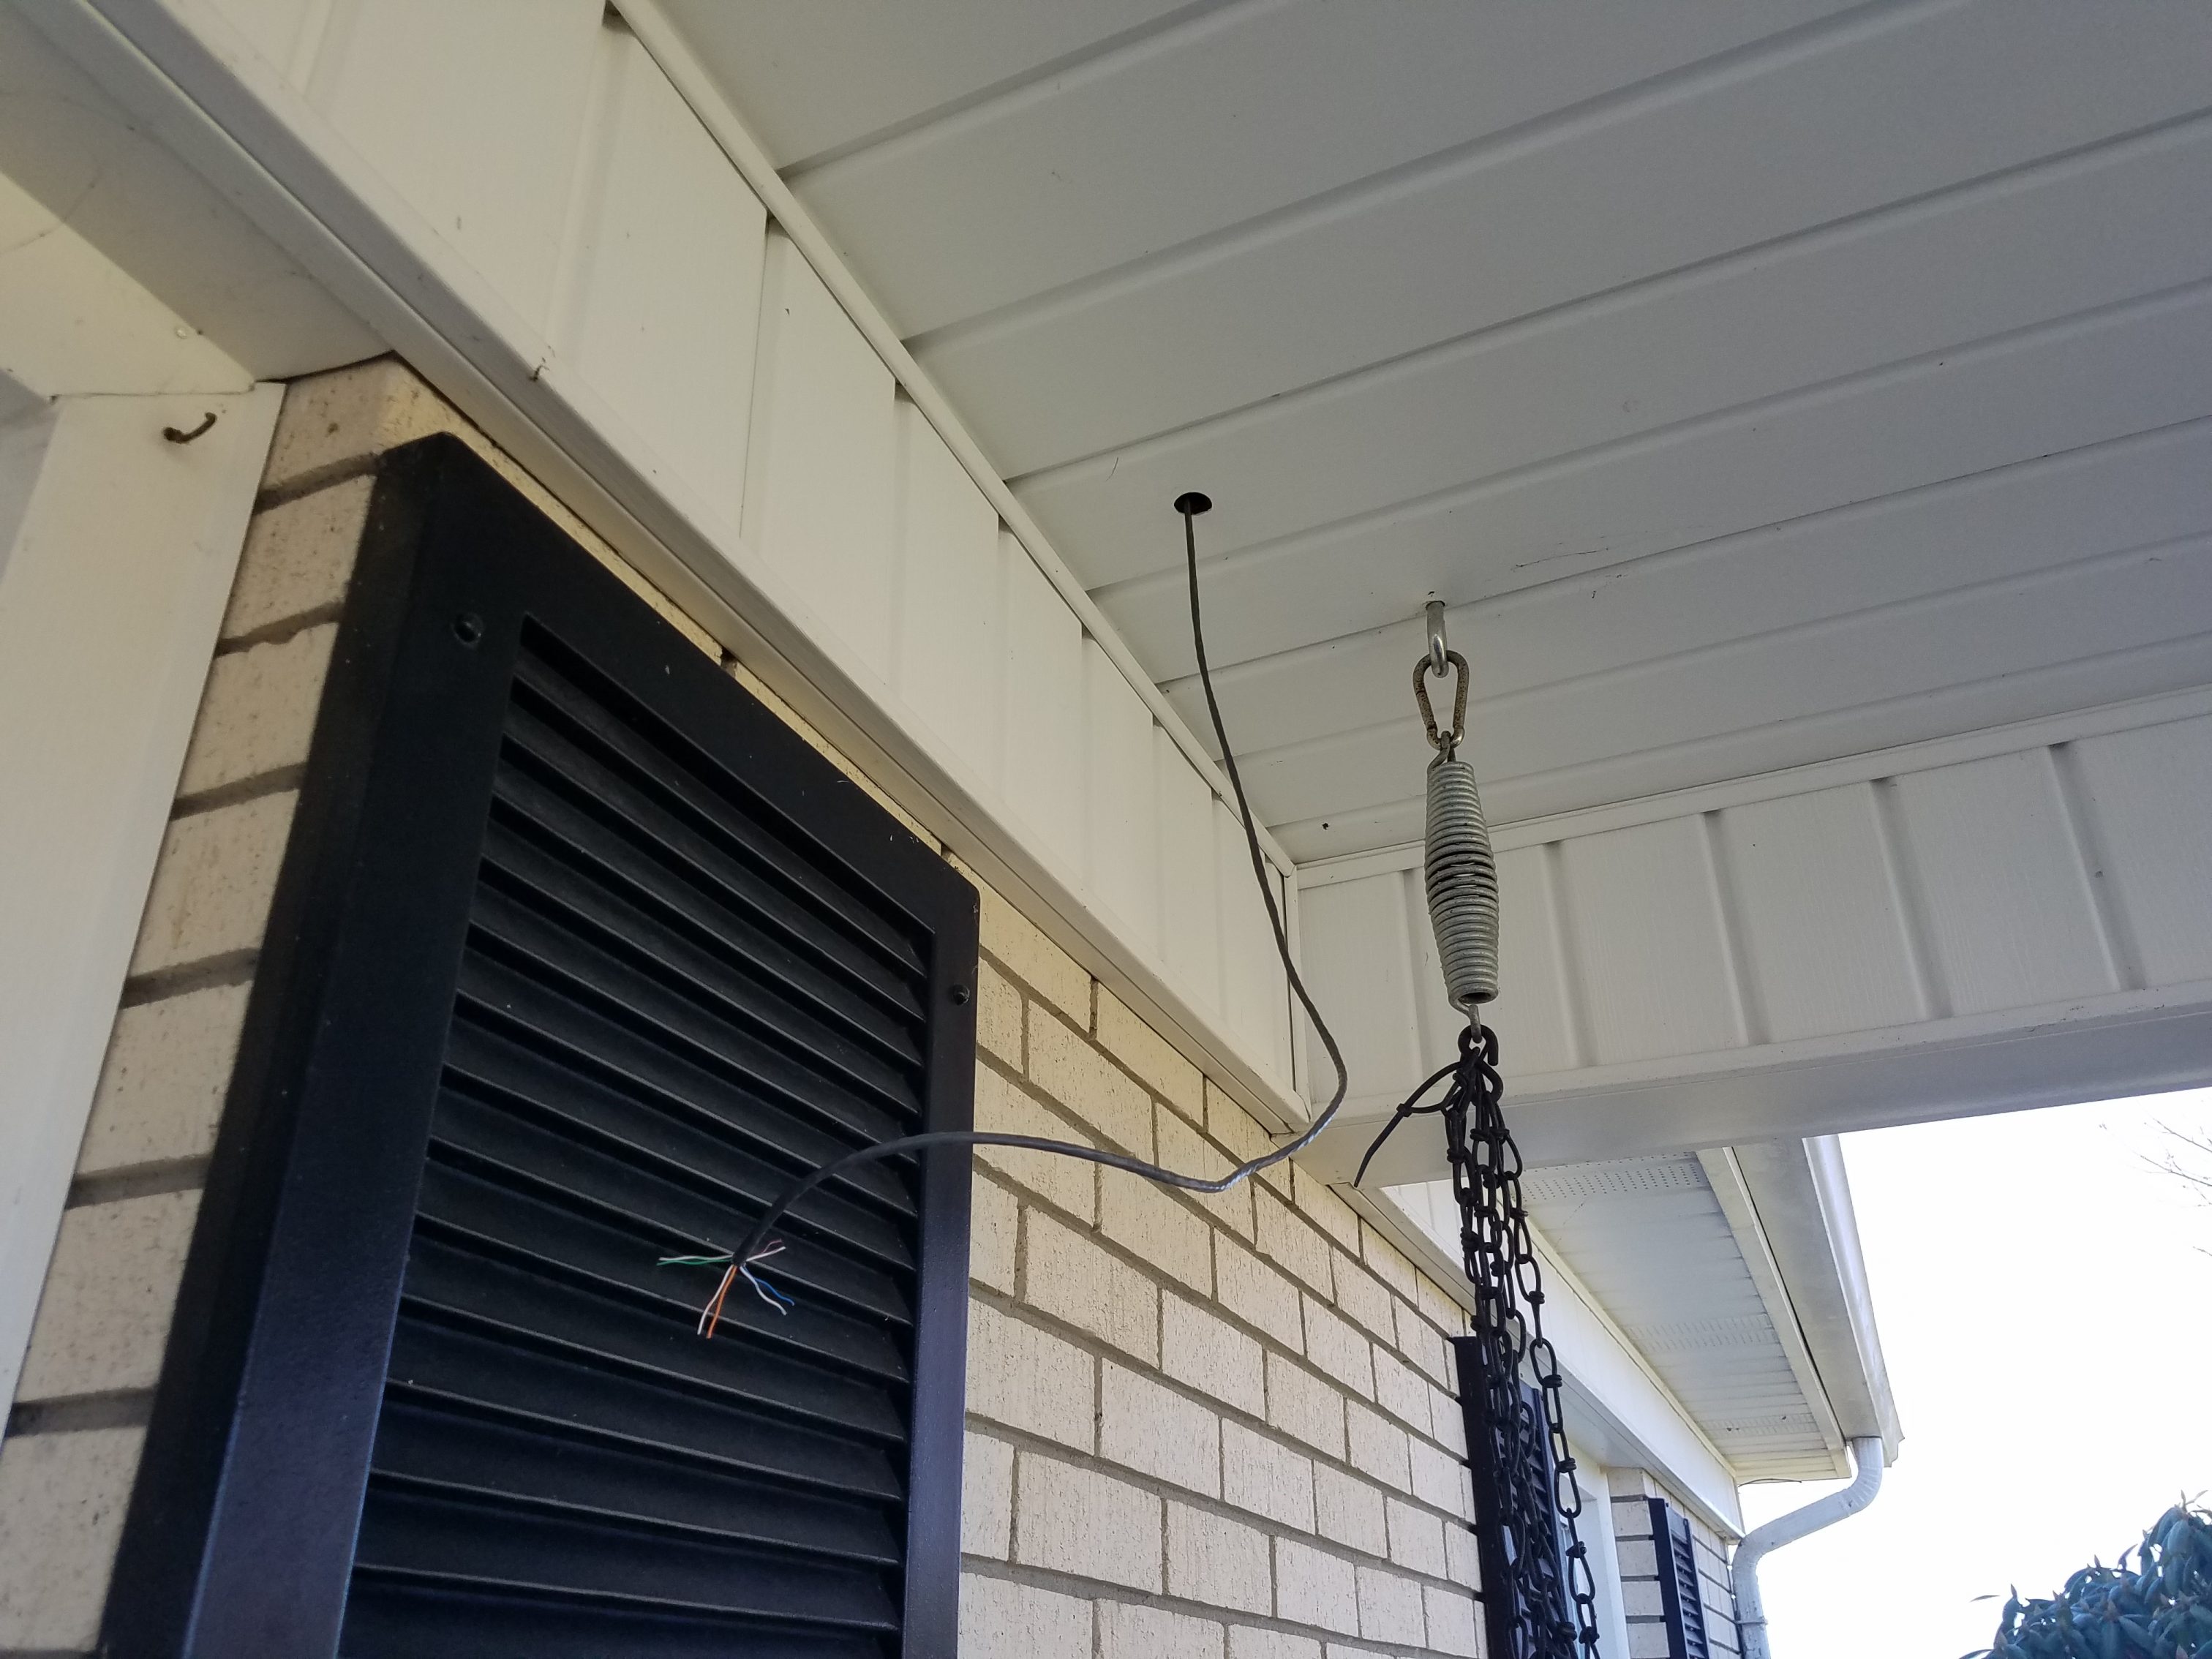
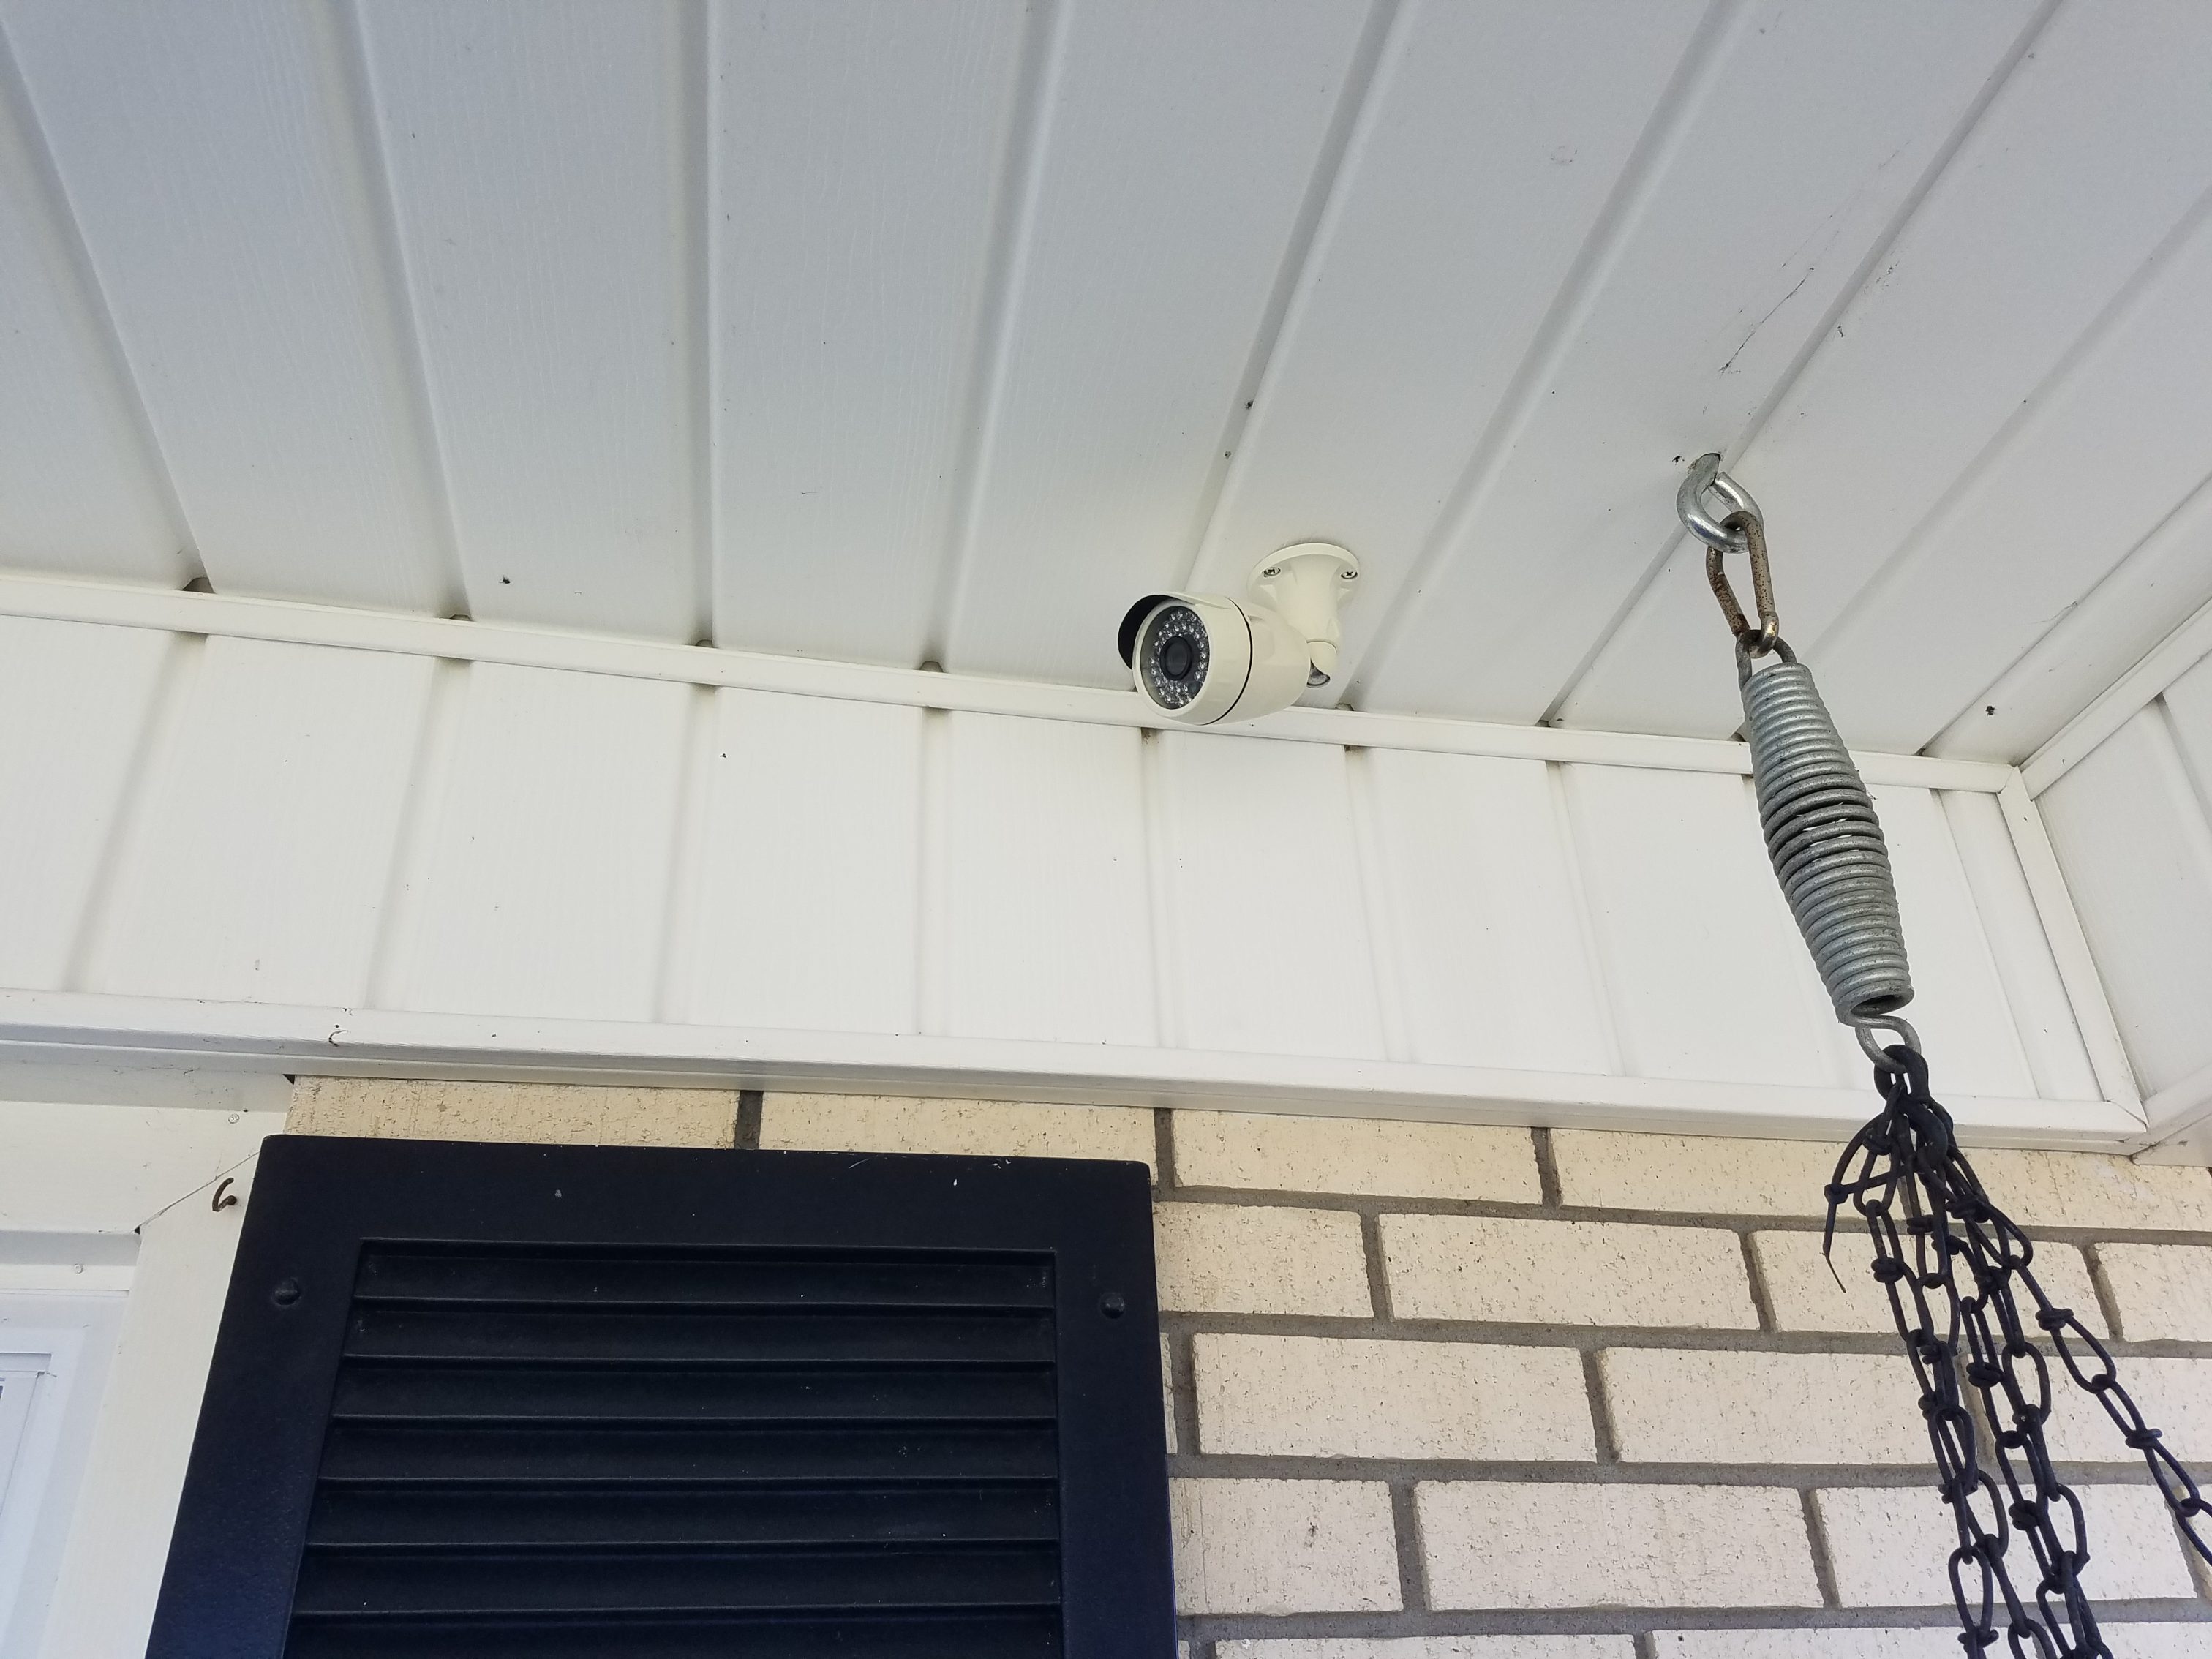
The project in total took about 3 hours for the hardware install and about 2 hours for the software install and configuration. The image below is the final installation for the front porch camera.
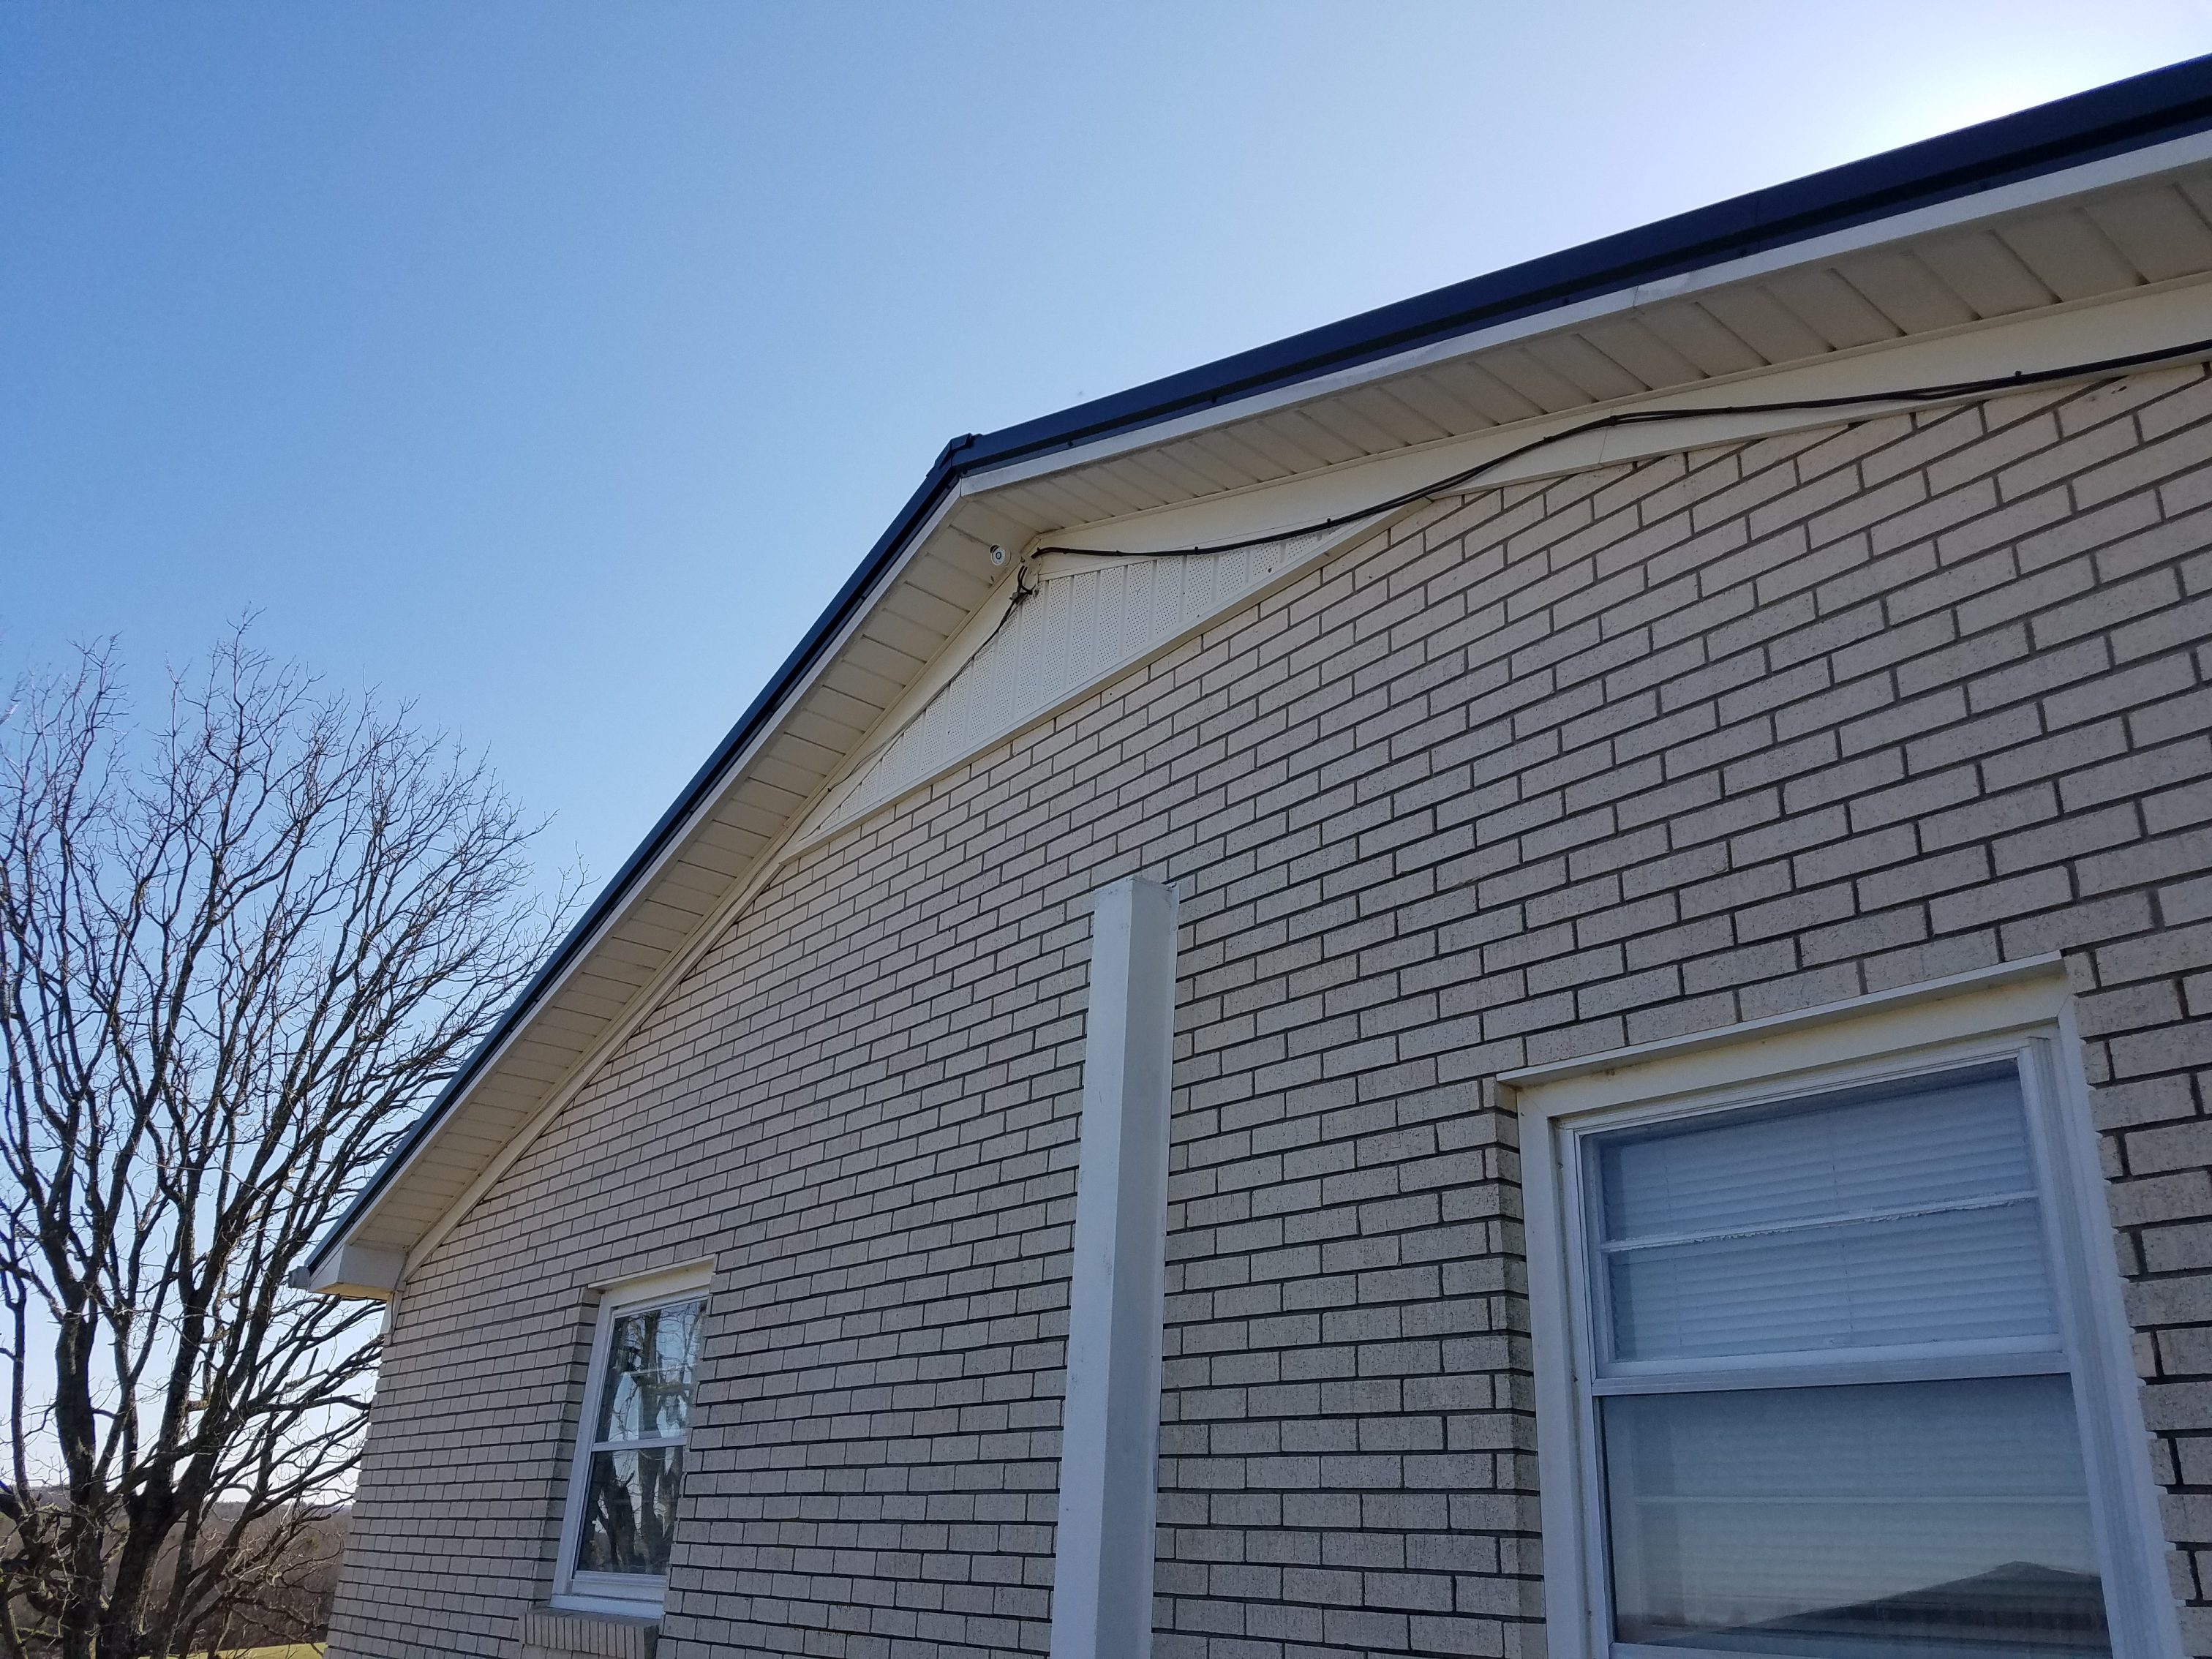
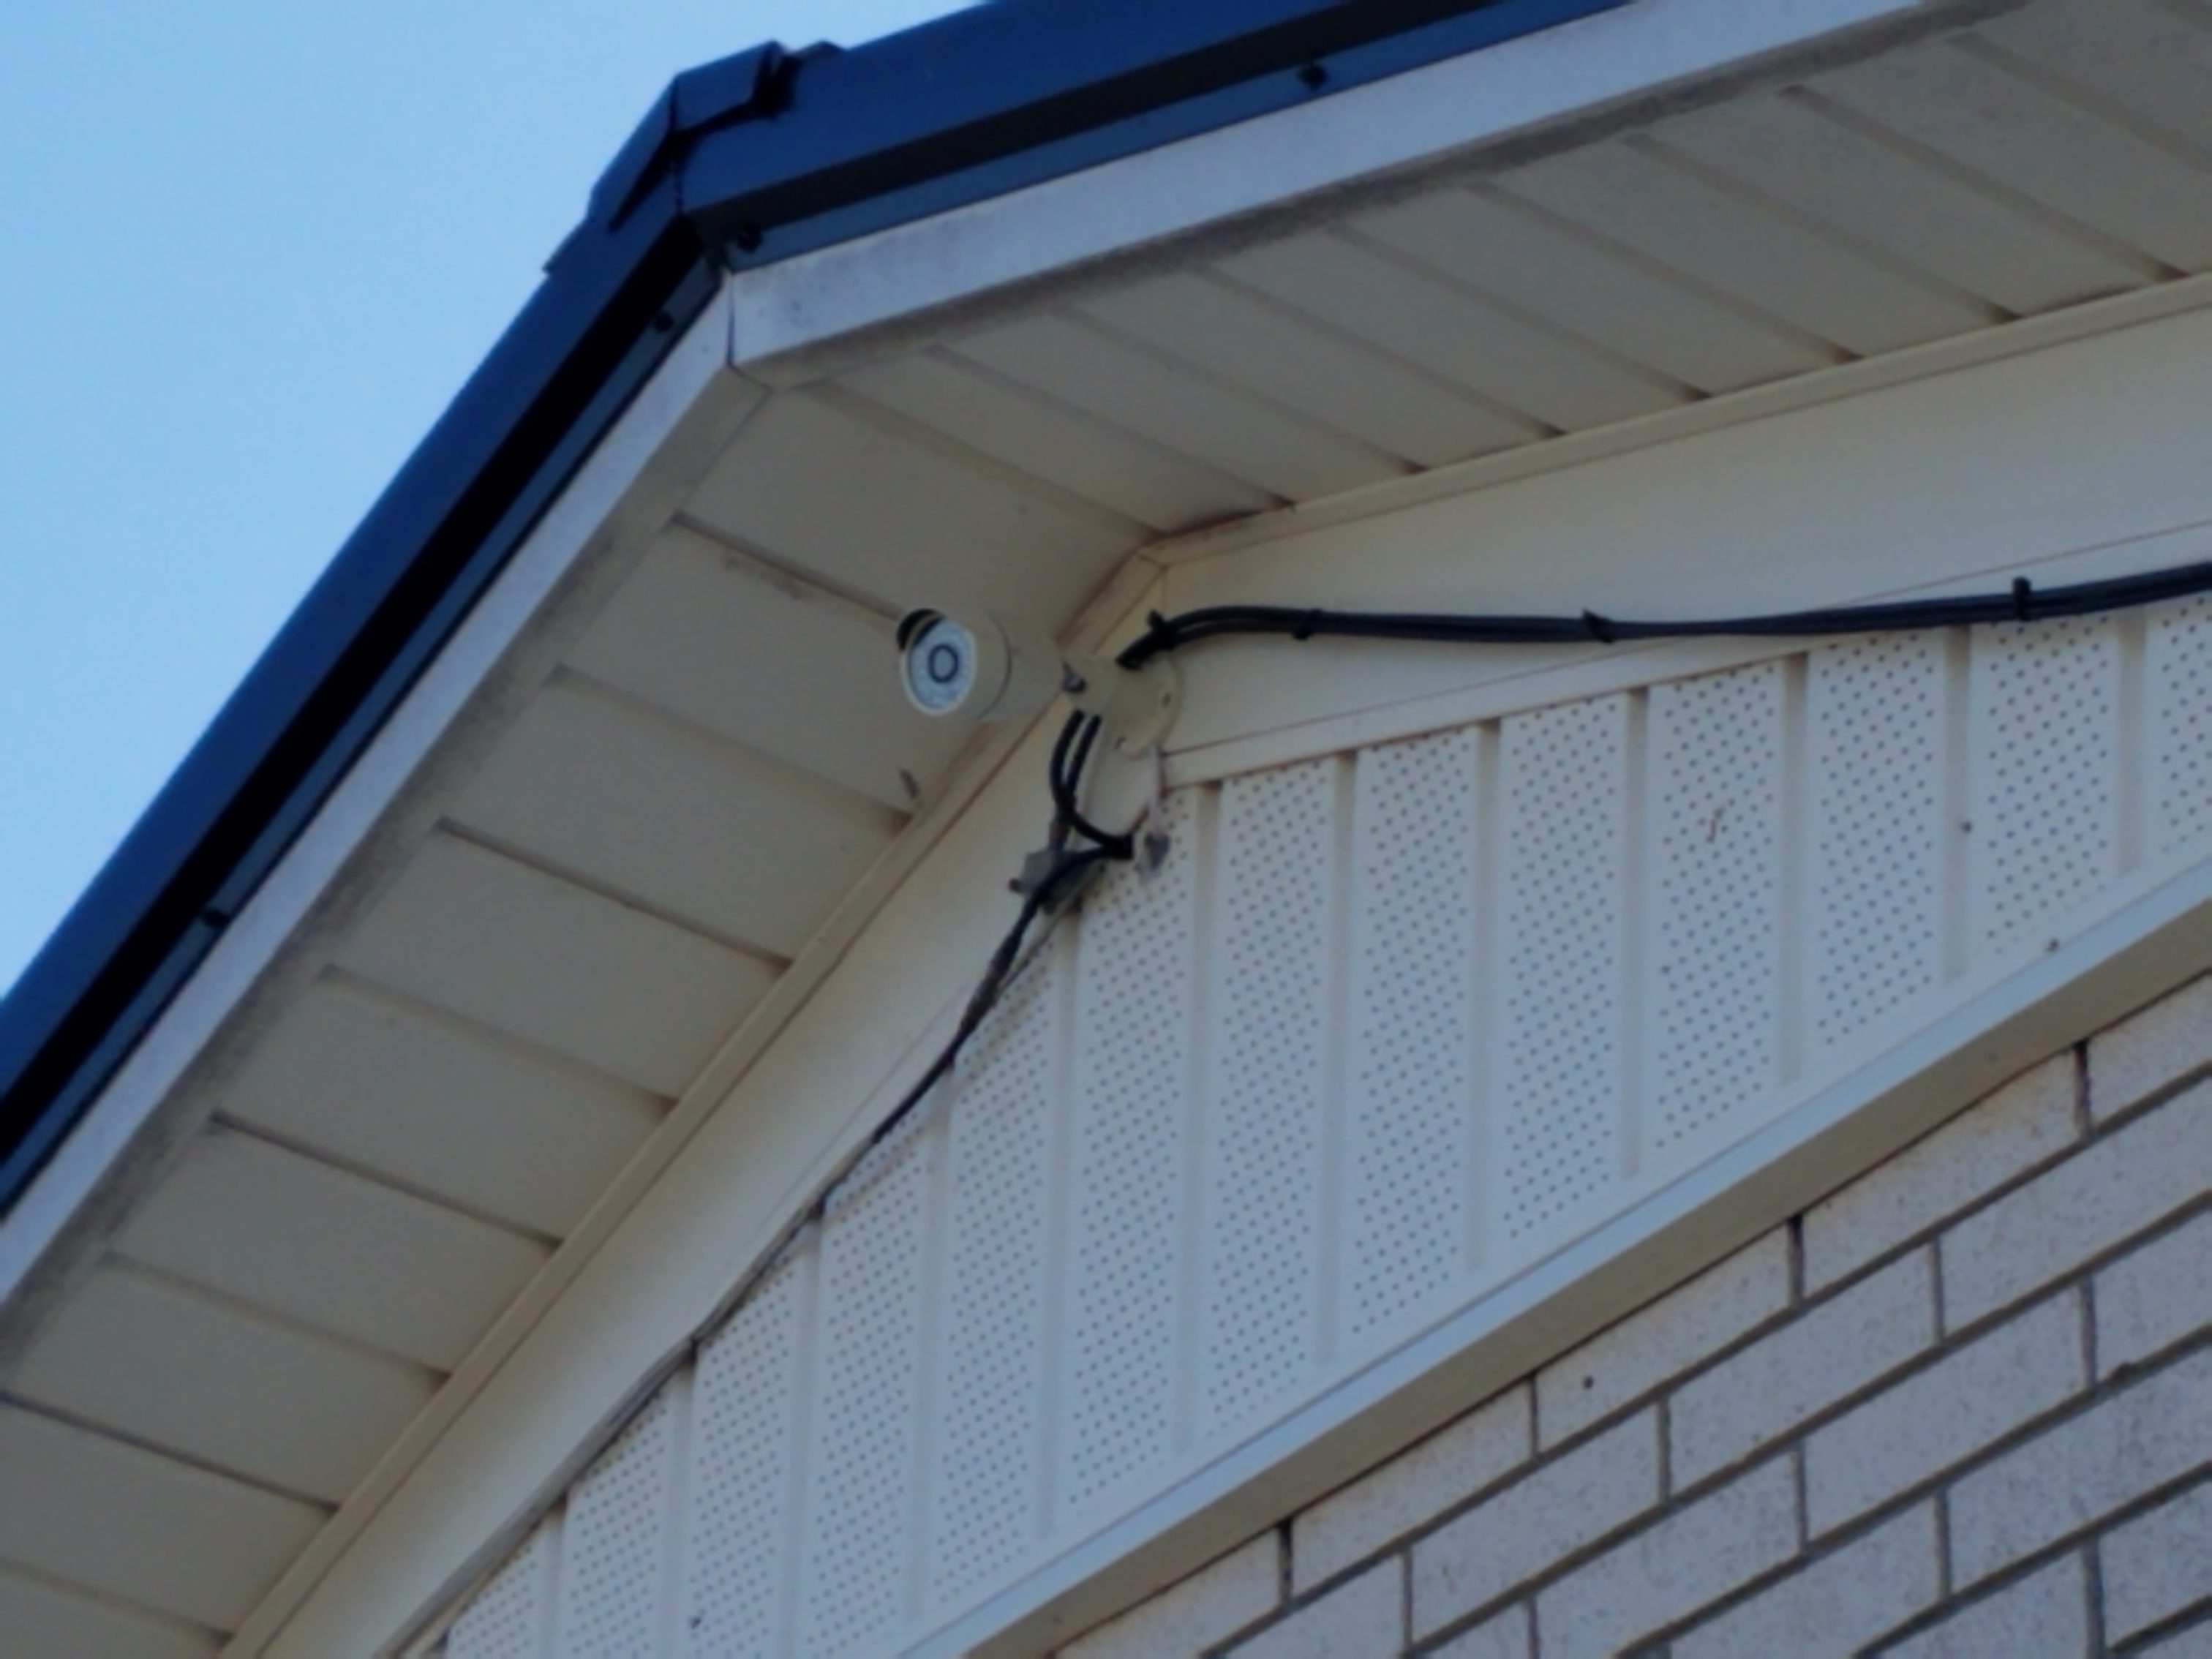
Final installation of the side camera.
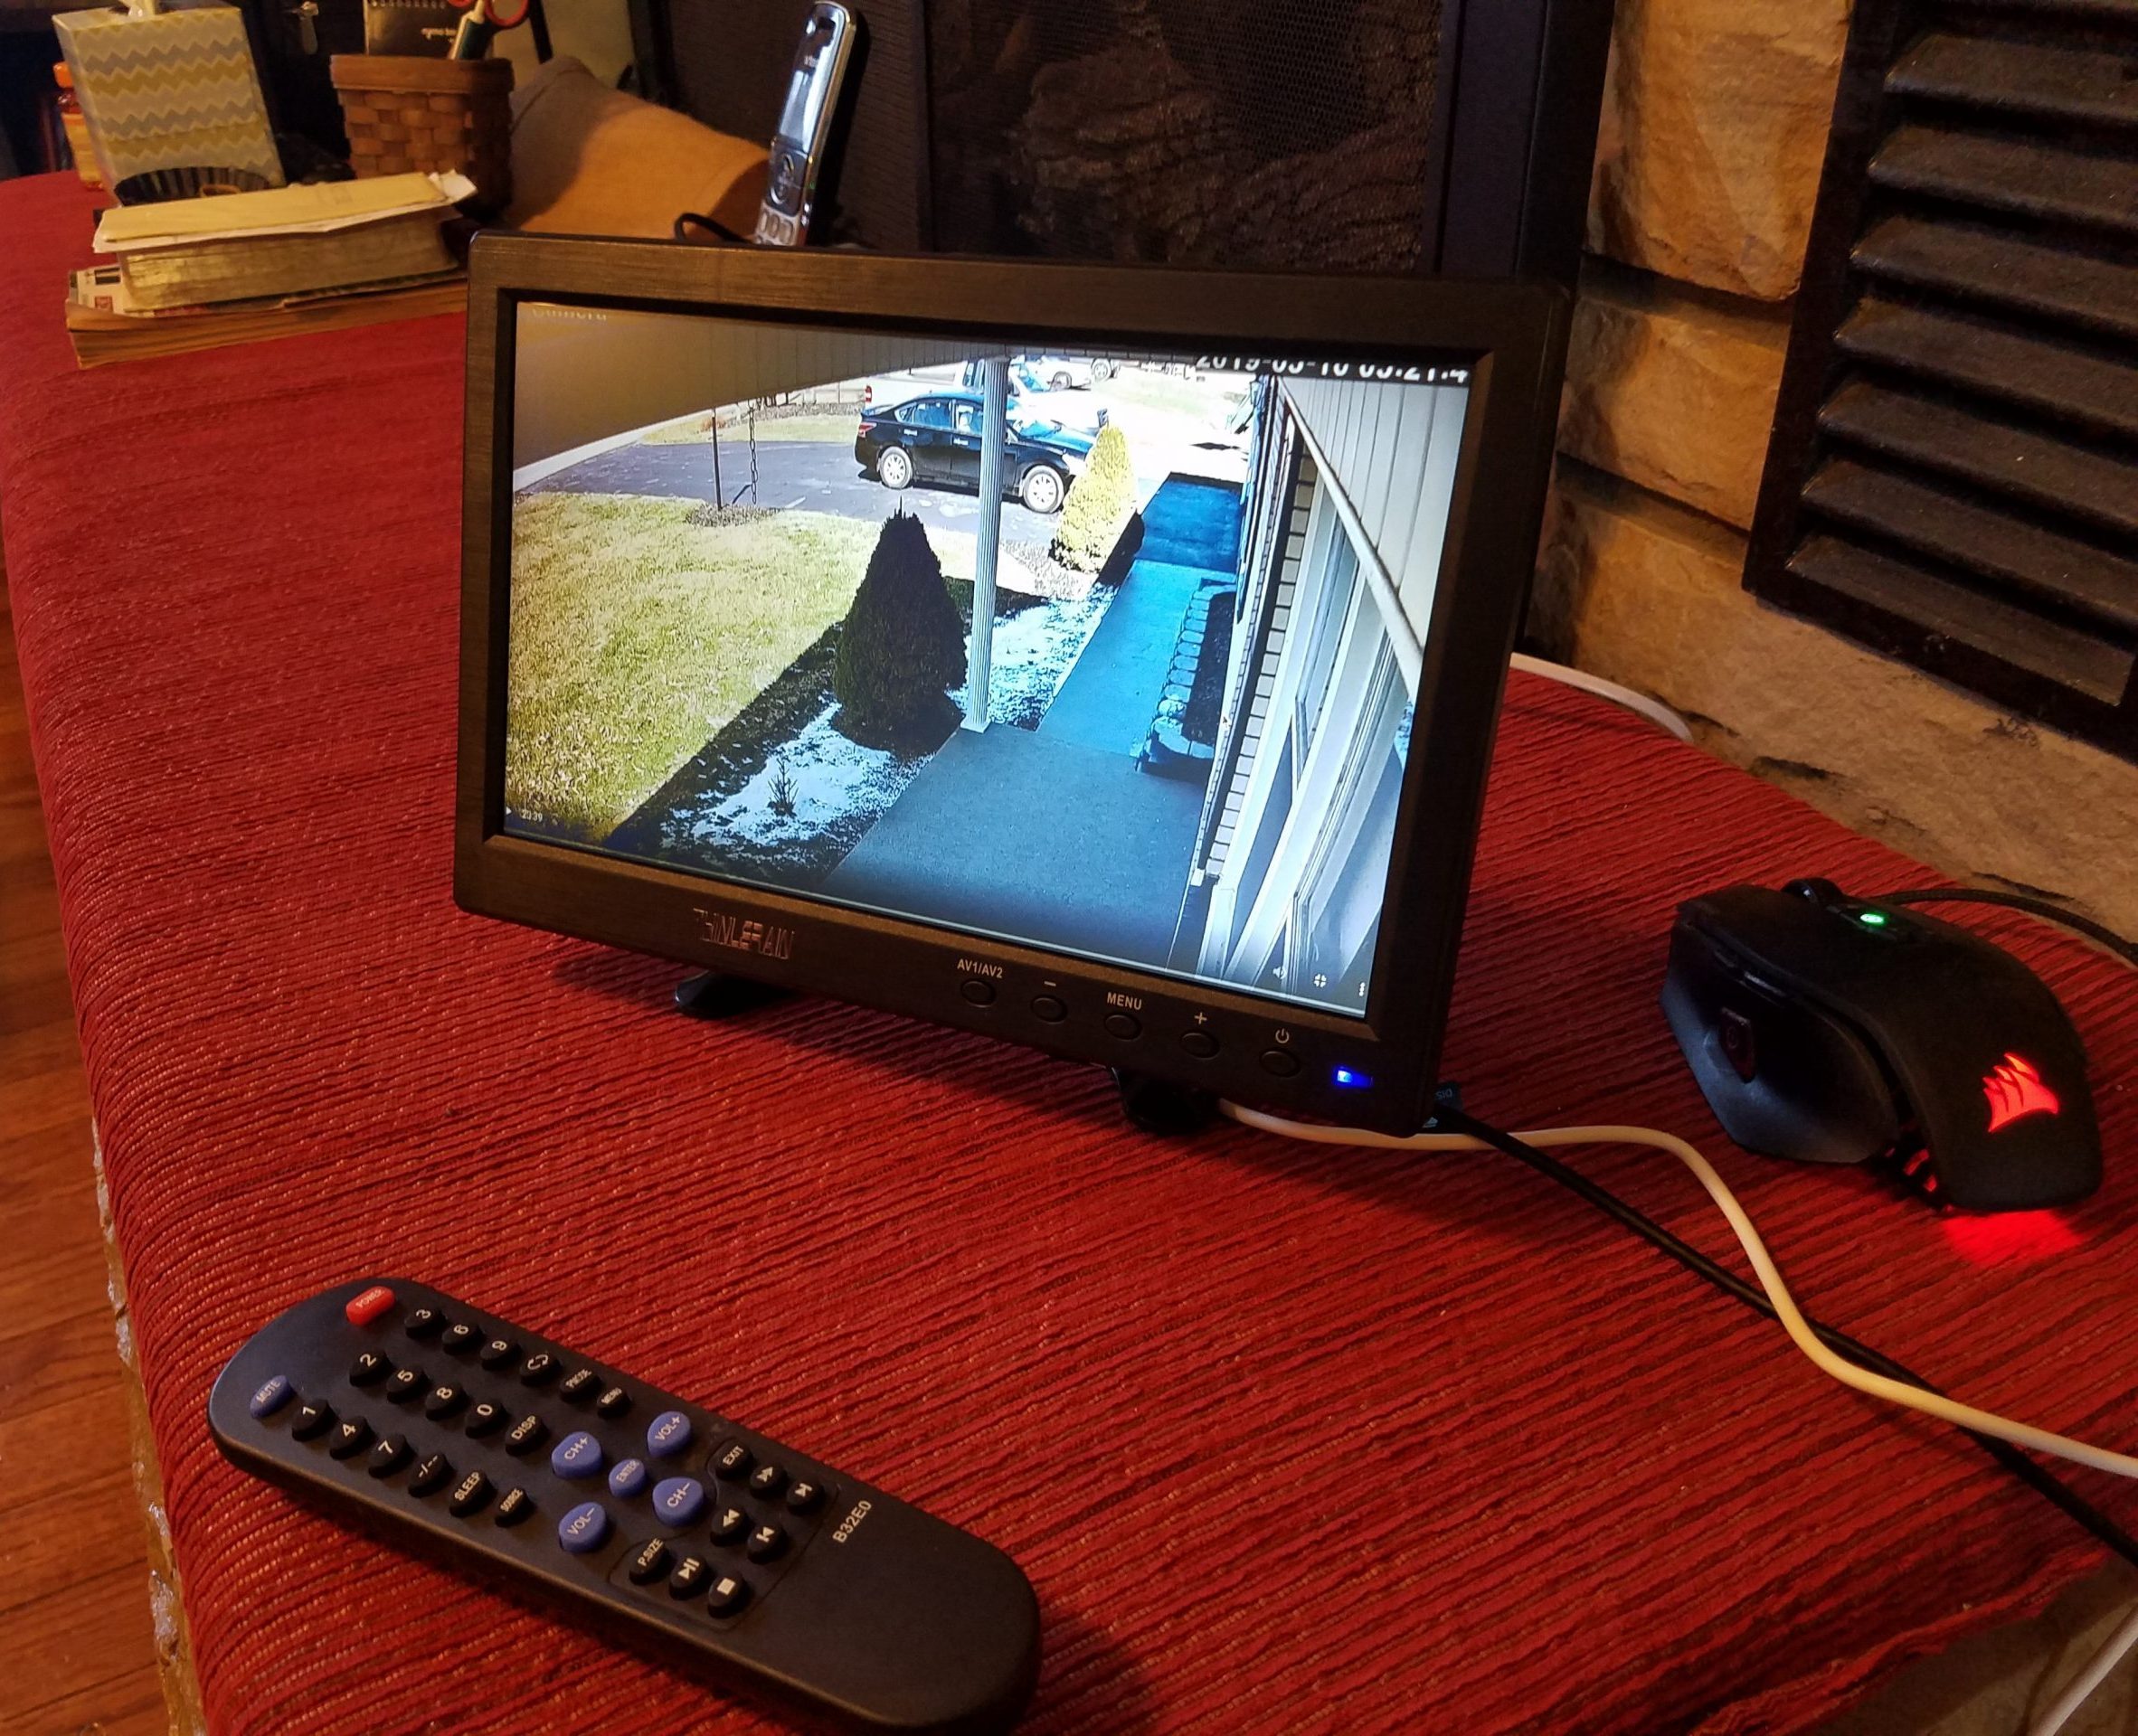
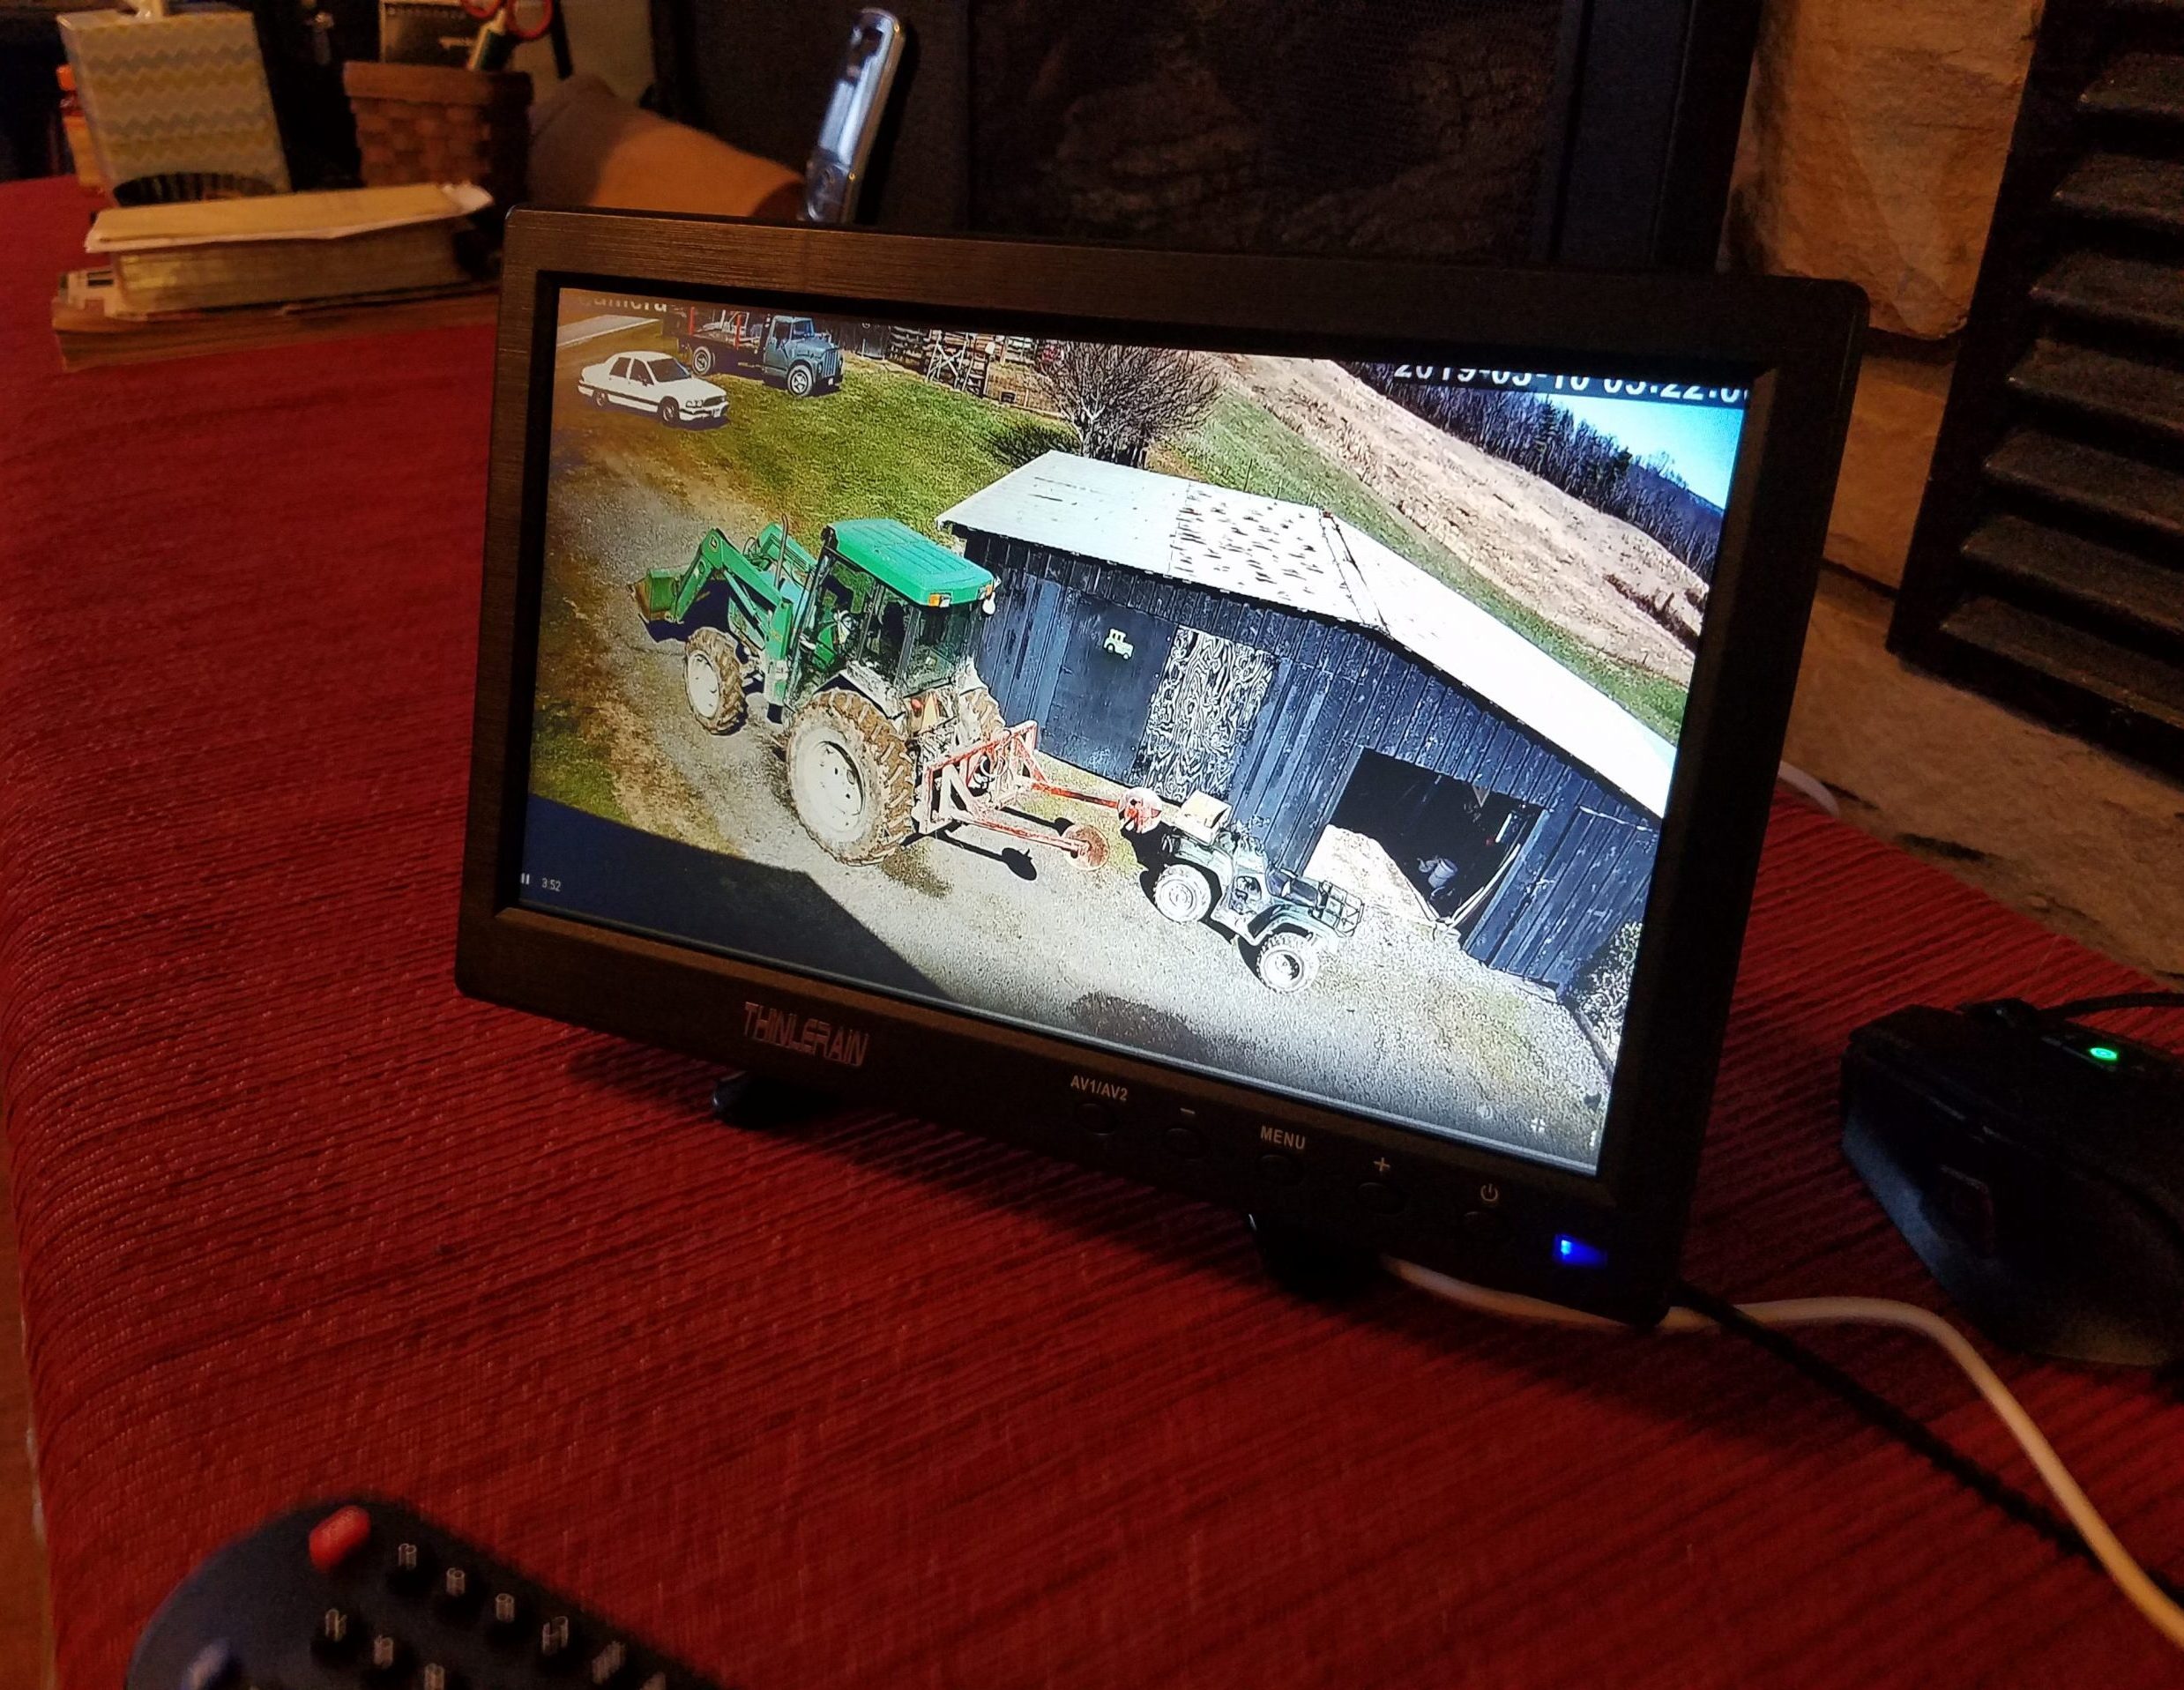
This is the final display the user will be able to monitor and playback recordings.
Overall the build was successful and the Raspberry Pi is working well with the high quality camera feeds. The build was quick to install and low cost for a nice quality camera system for your home. Best of all the system is completely customizable and can be expanded as needed.
Until next time, stay safe in the Trenches of IT!