Building your Command & Control environment from the cloud not only allows easy management of instances, but also provides scaling as needed. This guide will show how to build a ubuntu server in AWS, and then download and install the PenTest Framework.
Under Instances -> Select Launch Instance

Within the Quick Start options choose Ubuntu Server 16.x (Free tier eligible)

Select t2.micro -> Next: Configure Instance Details

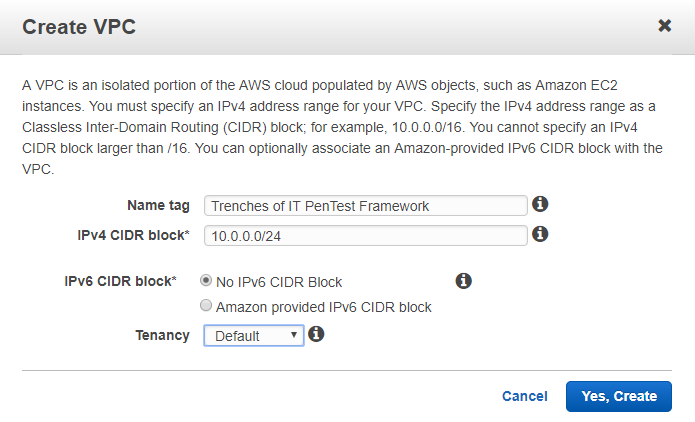
On the Configure Instance Details page select Create new VPC
![]()
Fill out the Create VPC template
Go back to Configure Instance Details tab and refresh the Network VPC options. Select the newly created VPC. Now select the Create new subnet option.

Fill out the Create Subnet template (VPC created should be available in the VPC dropdown)
Back on the Configure Instance Details tab select refresh next to Create new VPC. This will populate the new subnet created. Click Add Storage.

Increase the size to at least 20GB. Select Step 5: Add Tags

Tagging will help manage all your resources in AWS. Next: Configure Security Group

Security groups work as the firewall for AWS. We need to change the Source to My IP for now, however when C&C traffic is needed from a victim, you will need to open the needed port here. More details later. Review and Launch. Launch

When Launch is selected you will be prompted to create a new key pair. Download Key Pair. Launch Instances.

Before we connect to the Instance lets issue an elastic IP. Select Elastic IP’s on the left pane. Allocate new address.

Left Click new address and select Associate address. Fill out Associate address template.

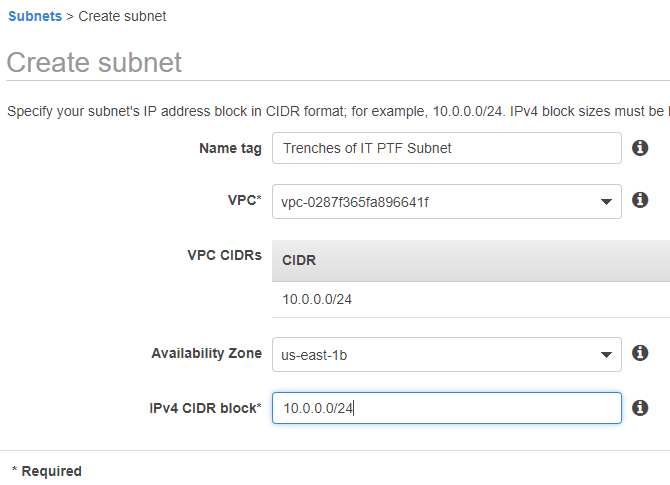
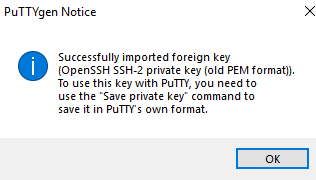
I am connecting to the instance with Windows so I will be converting the .pem to .ppk using PuttyGen, Run Putty Key Generator, Get a copy here.
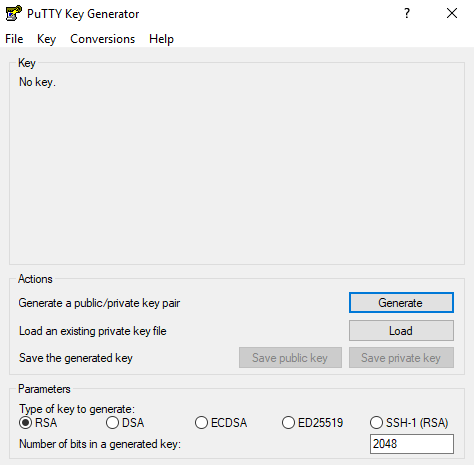
Load the .pem, Save private key(Create password if desired)
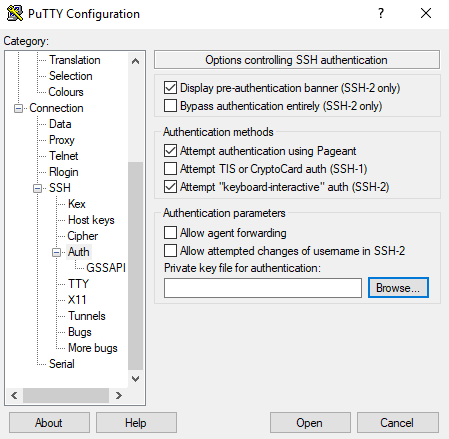
Now we need to load the .ppk into Putty. SSH -> Auth -> Browse for the new .ppk
![]()
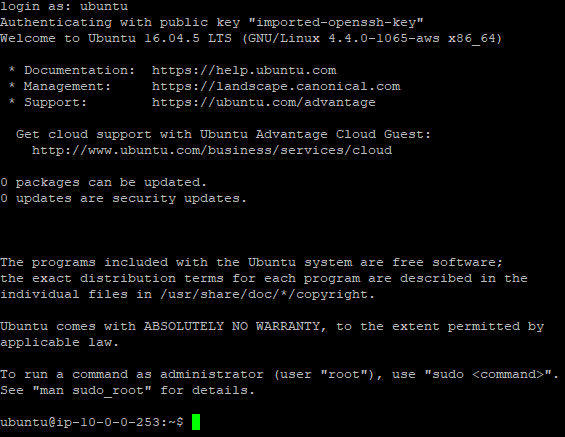
Click back to Session enter the elastic IP associated. Open. Login with ubuntu
Lets update the server: apt-get update
![]()
Ensure Python is installed: apt-get install python (Yes)
![]()
Pull the download from github: git clone https://github.com/trustedsec/ptf /opt/ptf
![]()
Change to the /opt/ptf directory and run ptf: cd /opt/ptf && ./ptf
![]()
Now we will update the modules by entering the following commands:
ptf>use modules/exploitation/install_update_all
ptf>use modules/intelligence-gathering/install_update_all
ptf>use modules/post-exploitation/install_update_all
ptf>use modules/powershell/install_update_all
ptf>use modules/vulnerability-analysis/install_update_all
During the installations there are a few simple human interactions needed.
Check all the available modules in the /pentest directory. cd /pentest

The setup is complete and ready to be used!
Be sure to power down the instance when not in use. You are charged for up-time.
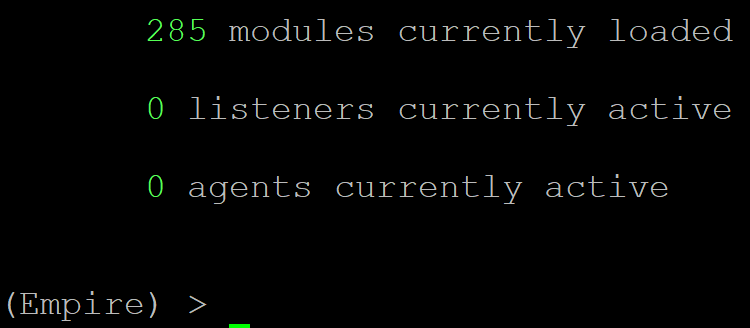
TIP: Empire does not work due to some missing imports. I wrote a quick script to fix the issue.

Enter the following command:
git clone https://github.com/trenchesofit/ptfempirereqfix.git /opt/empirefix && /opt/empirefix/ptfempirereqfix.py
Until next time, Stay safe in the Trenches of IT!